|
2-part Resin & UV Resin
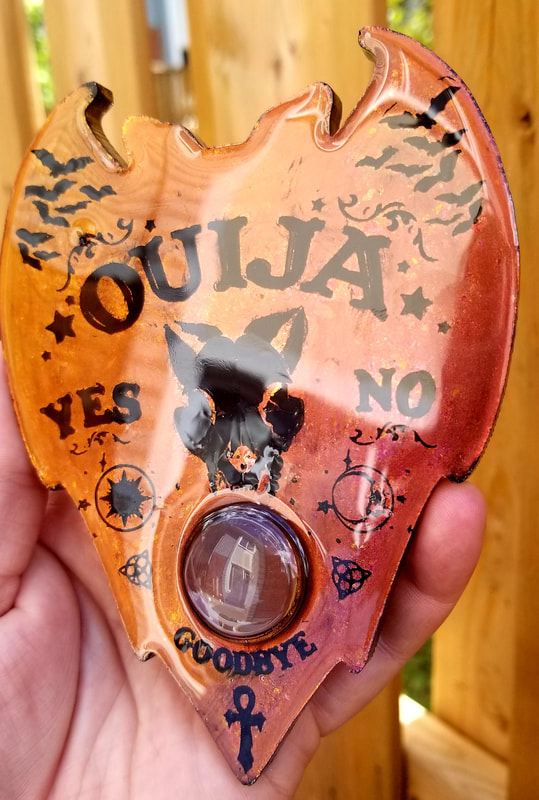
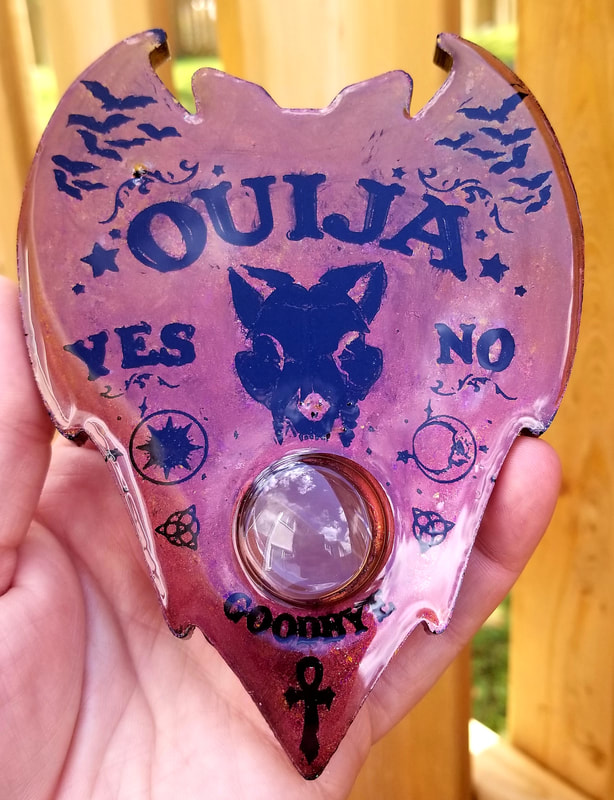
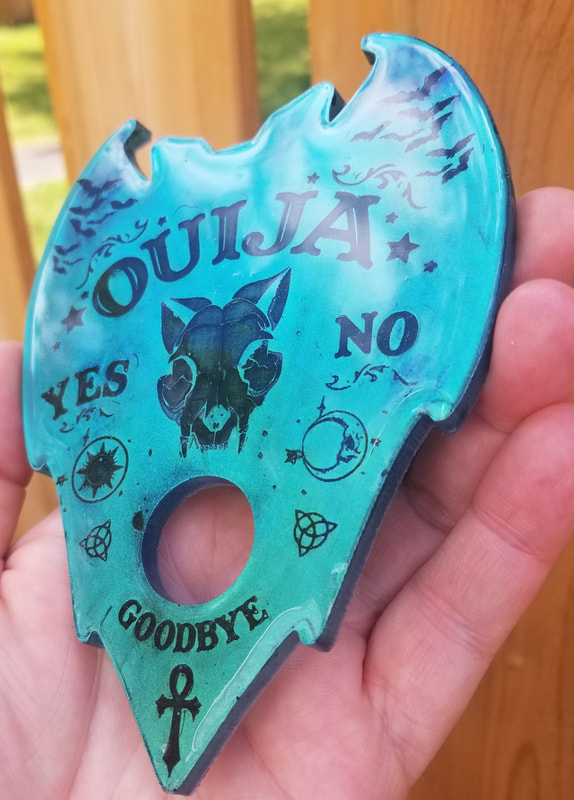
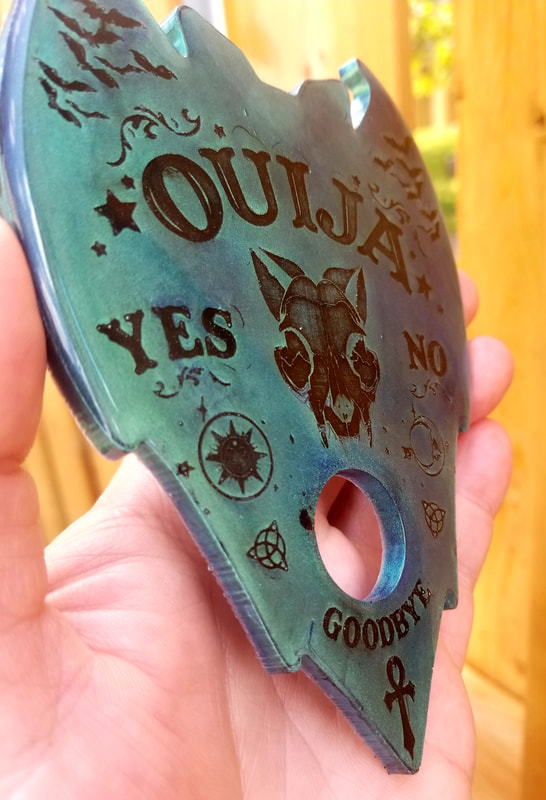
So you want to get into resin crafting? But where to start. First thing you need: Resin. You will notice with a quick search on Amazon, that there are many, many options and sizes. It could be overwhelming. There are also many different types, brands and mixing options when it comes to resin. Let's take a look. |
|


|
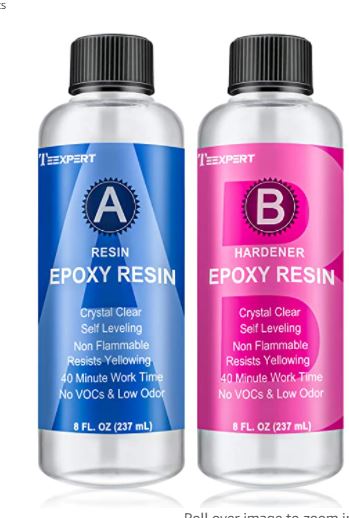
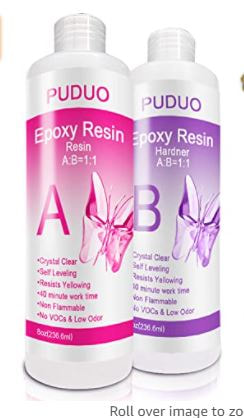
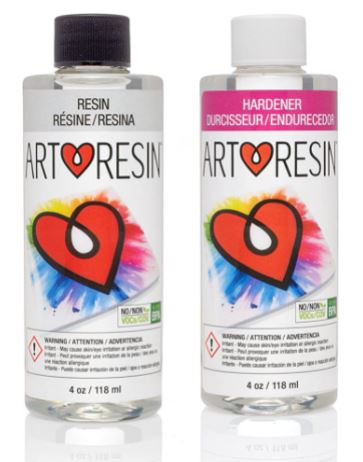
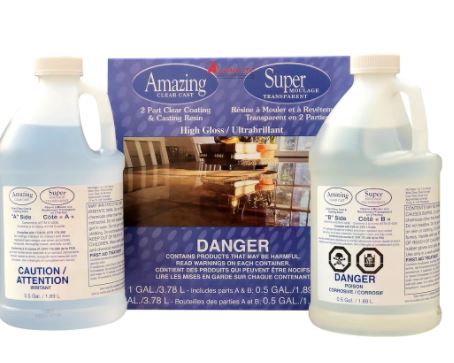
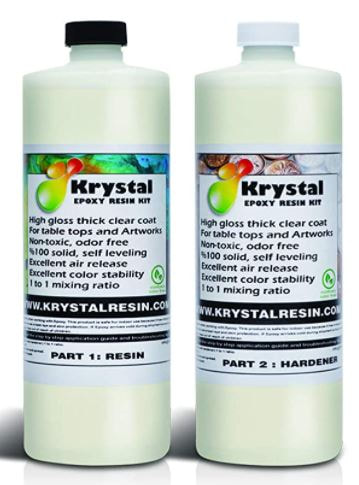
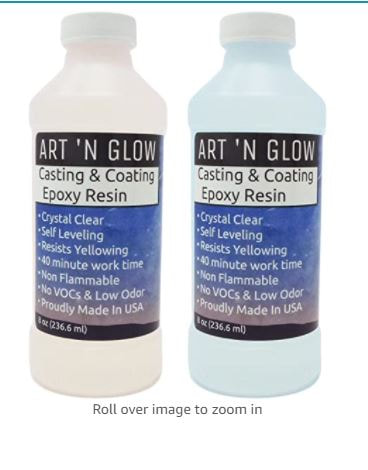
2-Part Epoxy Resin
This type of resin requires mixing. Some require a ratio of 1:1, meaning one part resin, one part hardener. There are some brands that require a ratio of 2:1, meaning 2 parts resin, one part hardener. It is very important to read the label on the brand you purchase, to make sure you know the measurements. Equally important is to note, that some require measuring by Volume and some require Weight. DO NOT weigh your resin if it indicates volume. The measurements will be incorrect and will result in pieces not curing resulting in a waste of both time and money over ruined resin. You will notice by a quick search, resin is NOT cheap. Probably the most expensive item in this craft, followed closely by quality molds. When mixing your resin, always follow the brand's directions. Each brand will require a length of stirring, mixing, and measuring. Also, it is important to use resin in well ventilated areas and always wear safety items such as masks and gloves. Mixing resin in silicone cups or bowls is the best bet, as you can clean them out (peel once cured) and reuse them over and over. When I first started out, I used paper cups and was going through them so quick that there was so much waste, both product and money. I switched to plastic and silicone measuring cups, for repeated use. Each brand of resin will have a different purpose. Casting, Table, and Deep Pour. Depending on what you are creating, you may want to choose the correct type of resin for optimum results. Casting resin is perfect for all sorts of items: small molds, large shallow molds, jewelry pieces, keychains, shakers etc etc. Table top is perfect for the above mentioned items, in addition to canvas geode pieces, wood cutting boards, anything that you require a self levelling resin for. Deep Pour is perfect for molds that are more than 1.5inchs thick. You DO NOT want to use regular resin for anything over 1-1.5inch thick. It can overheat, smoke and just not cure at all. Deep pour resins, take much longer to cure, usually up to 3 days for some brands, but it also means you can do less layers if you use a deep pour. This is a perfect resin for doing large pyramids, large spheres or thick tray molds. |
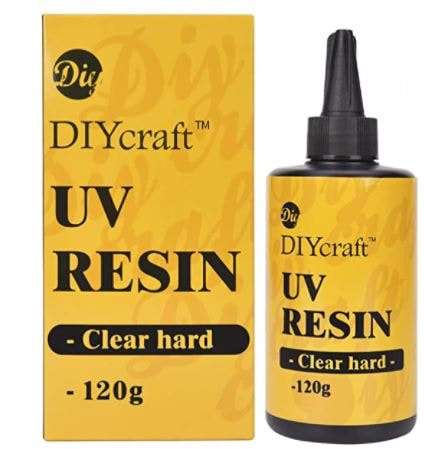
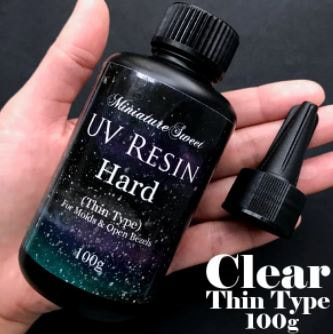
UV Resin
UV resin is a wonderful little product. No mixing (unless you choose to mix with colours & glitters), no measuring (comes ready to use) and can be used for making many jewelry items quick and easy. Some cons to UV resin is that you need to purchase an UV lamp to cure this resin. Some brands say you can cure in direct sunlight, but most of them recommend using a lamp. These lamps are the same as you see used for gel manicures. They usually have multiple cure times, ranging from 30 seconds to 90. They also come in various "amps", so be sure to get one strong enough to cure your UV resin. Another con, is that these bottles are tinier and you don't have the option of purchasing much larger quantities. They are not cheap. Depending on where you purchase them from, a 2 ounce bottle can run between $10-$30. They do come in different colours, but limited. You can also only use this type of resin in clear molds. The UV light will not penetrate the dark coloured silicone molds. This type of resin is used for open backed bezels to make pretty charms, keychains and earrings. To do this project you will also need to purchase bezel tape. It comes in a roll, usually with a greenish tinge and you place the bezel on the sticky side to hold in place, while you apply the UV resin. Once fully cured, you just peel it off the tape. UV resin will not cure if not exposed to sun or UV light, so if you leave it out, it won't harden at all. When curing, don't be alarmed if your piece "smokes". That is just the fumes that are released while the UV light is curing the piece. It can sometimes be a strong odour so use in well ventilated areas. If your piece is tacky after curing under UV light, repeat the process, and sometimes turning it over to get the back side will help as well. Usually it can take up to 3mins, and as much as 10 mins for an item to fully cure under the UV light if your lamp is not strong enough. |
