|
From start to finish, watch as we create a multi-level fairy garden planter.
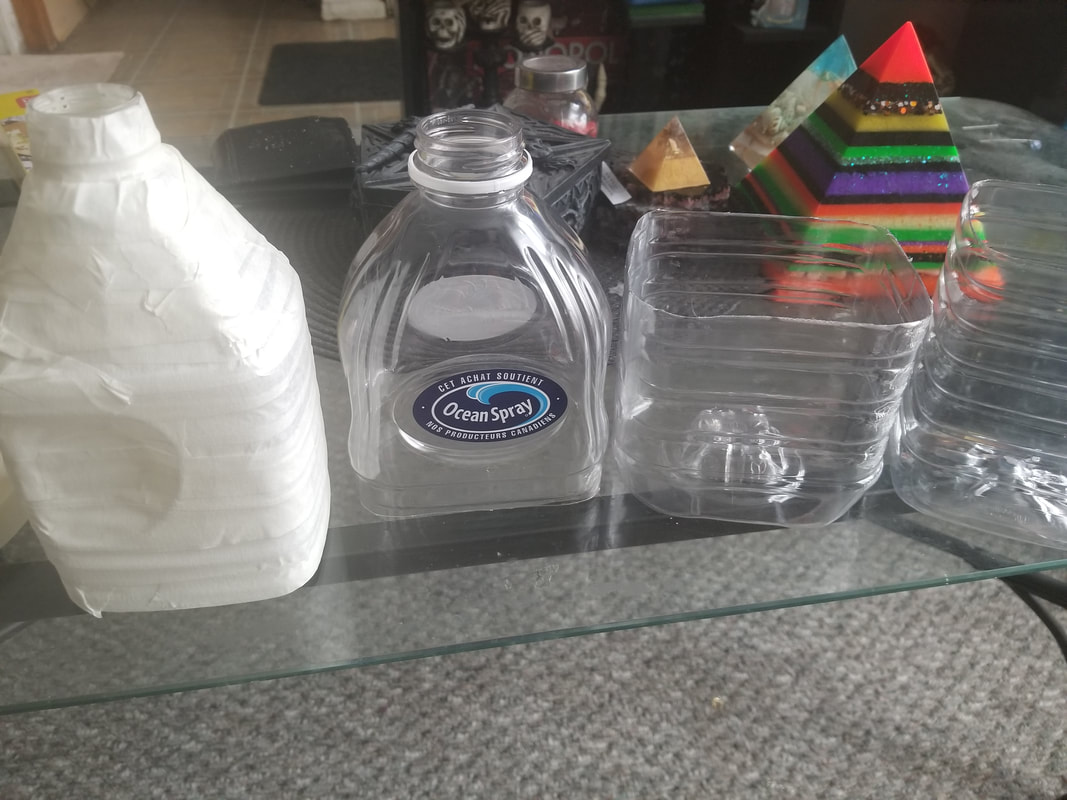
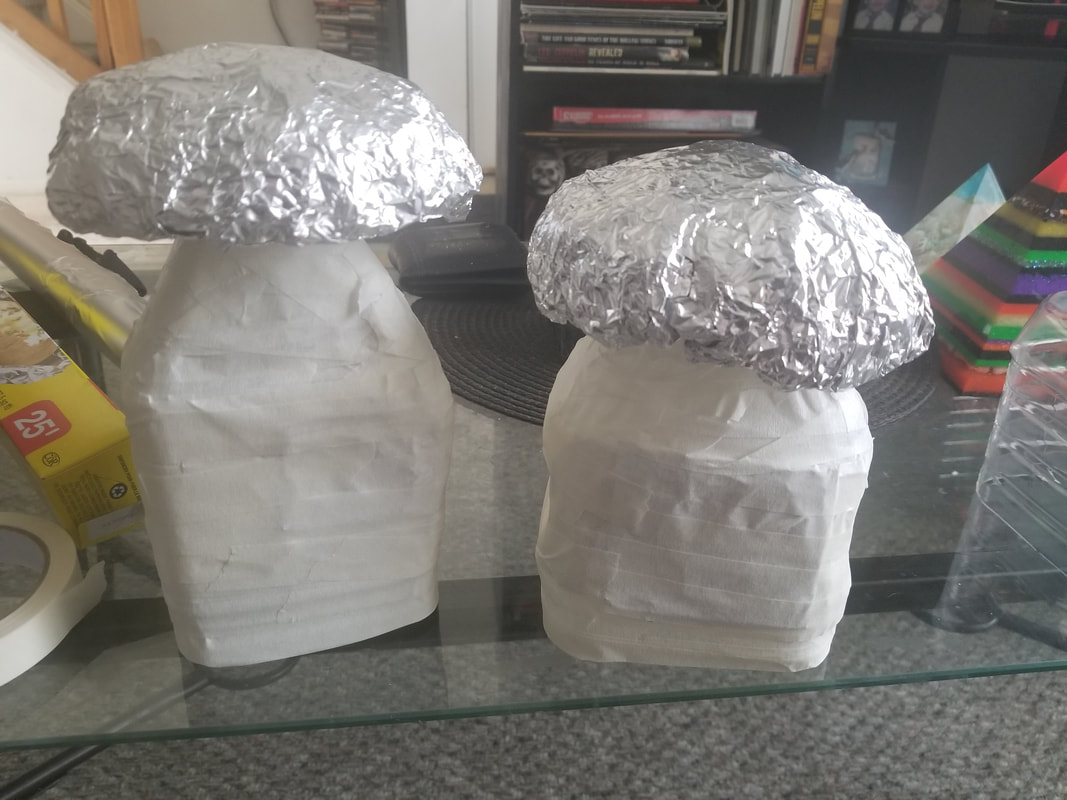
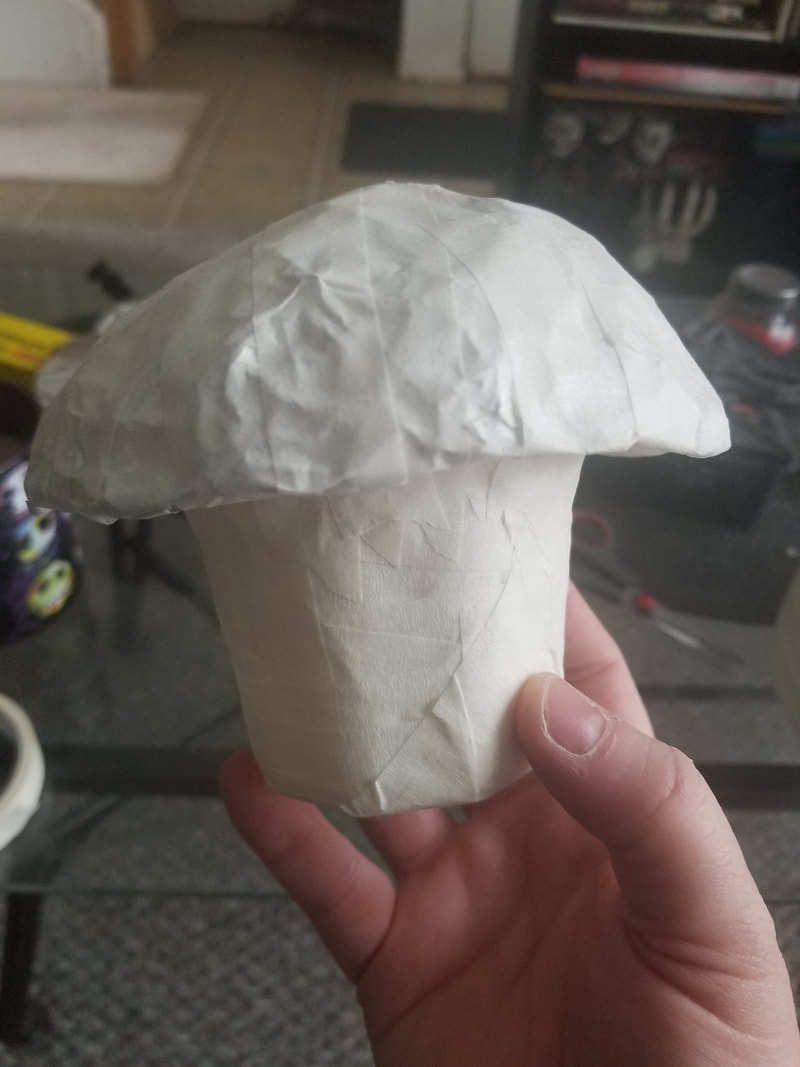
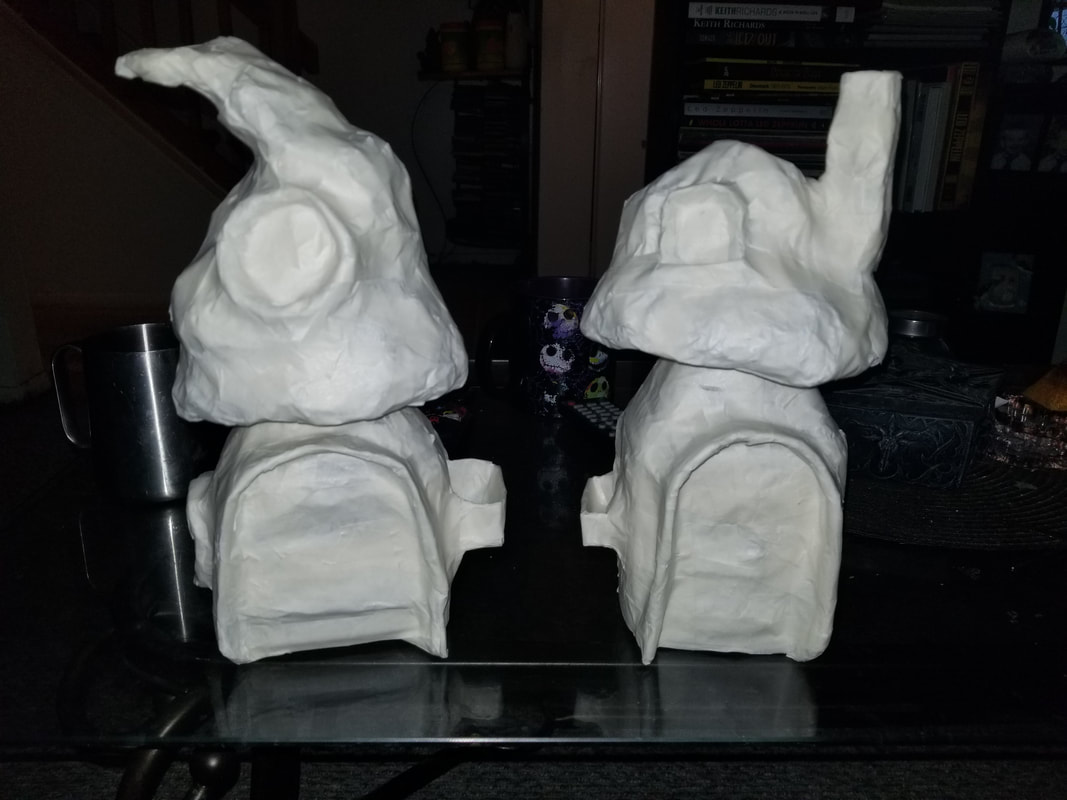
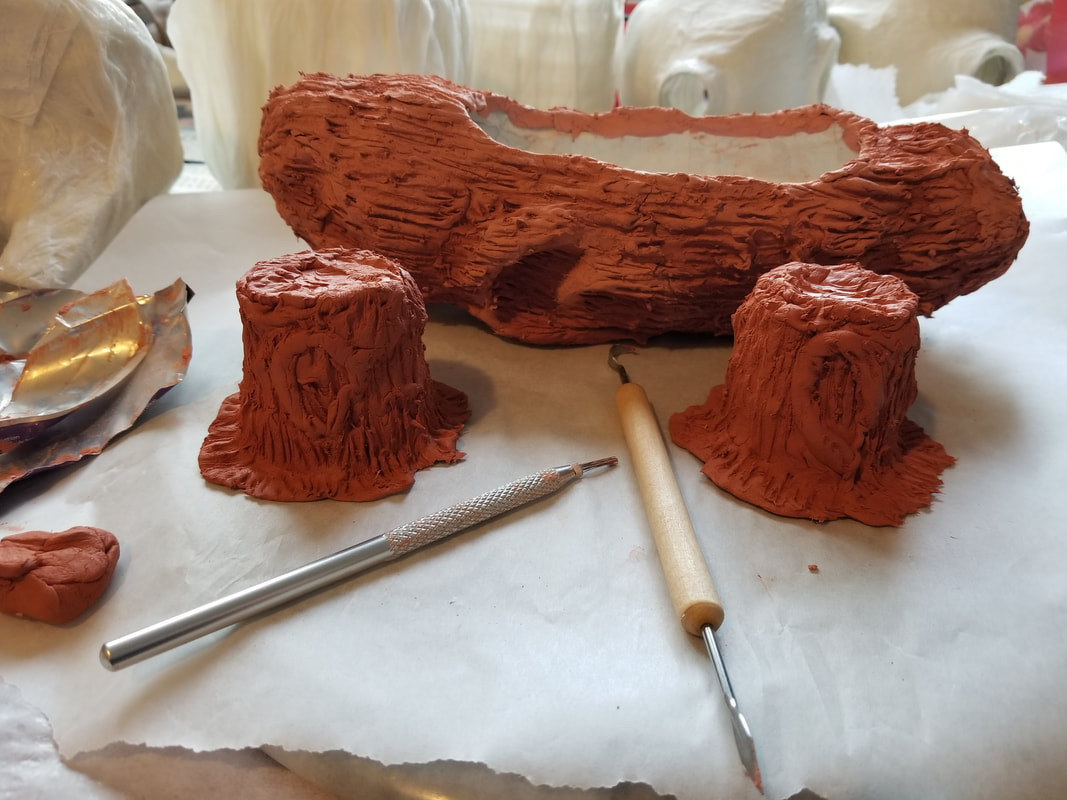
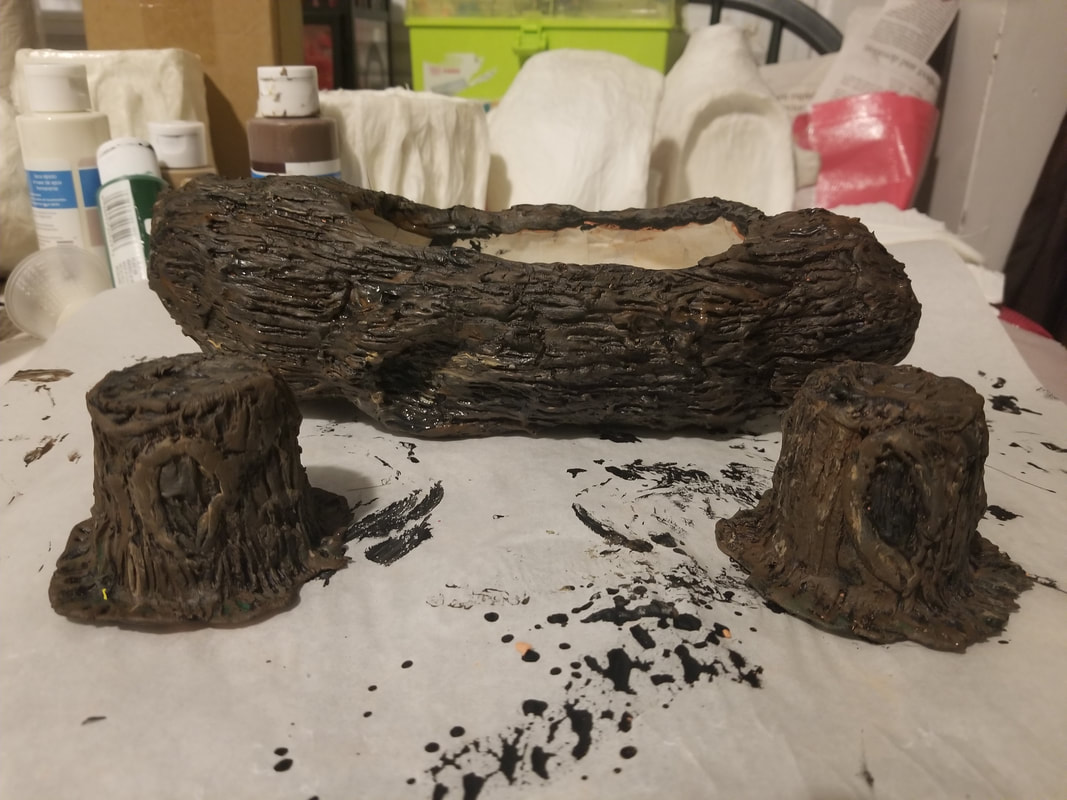
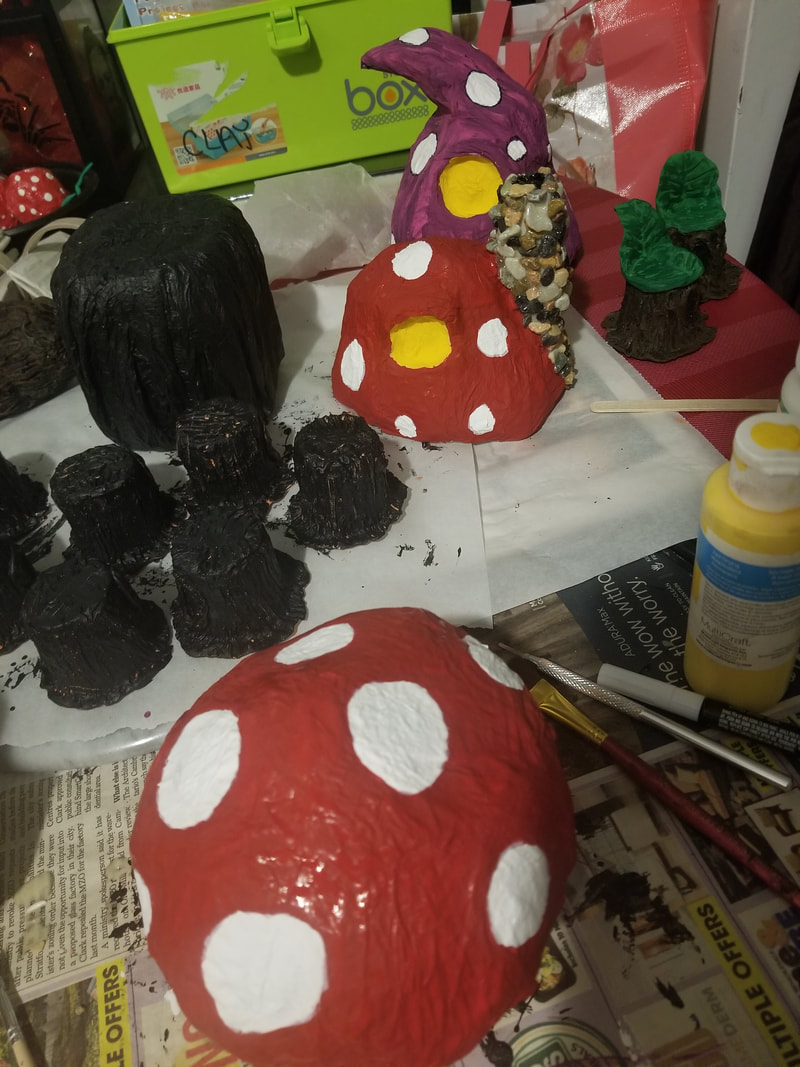
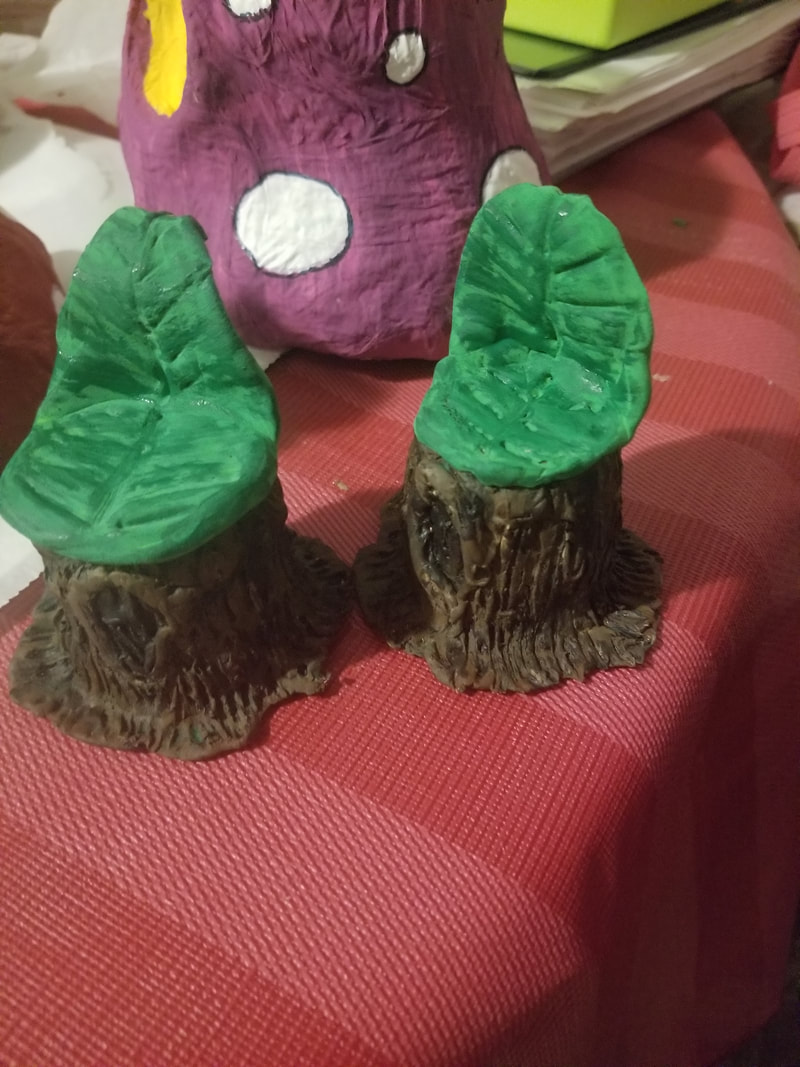
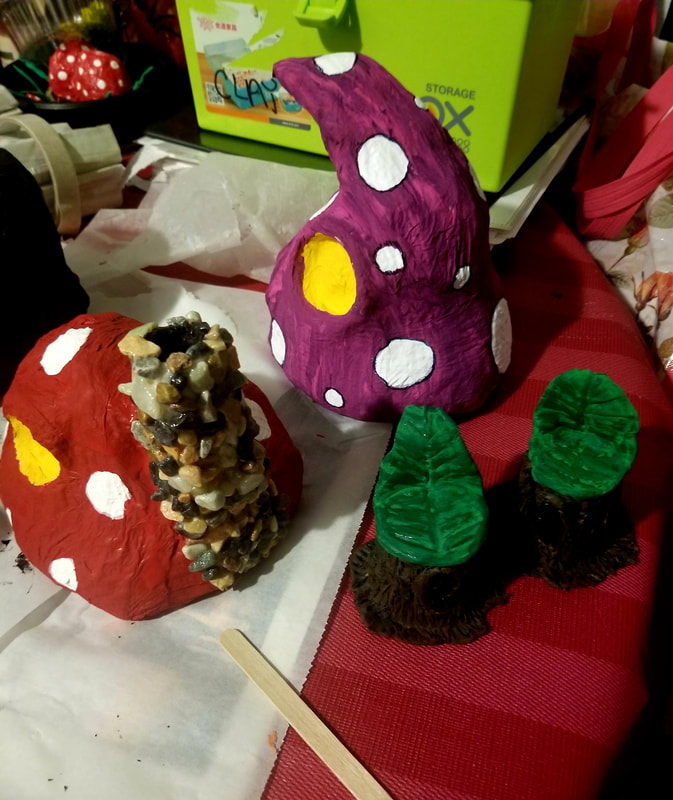
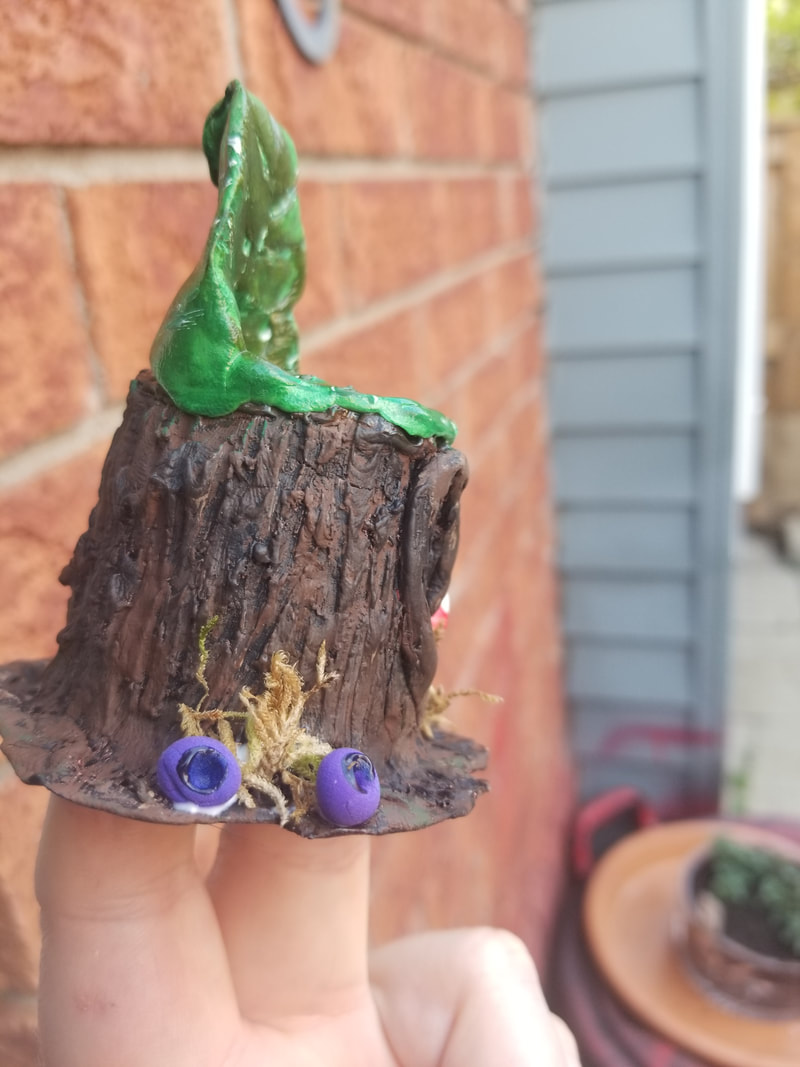
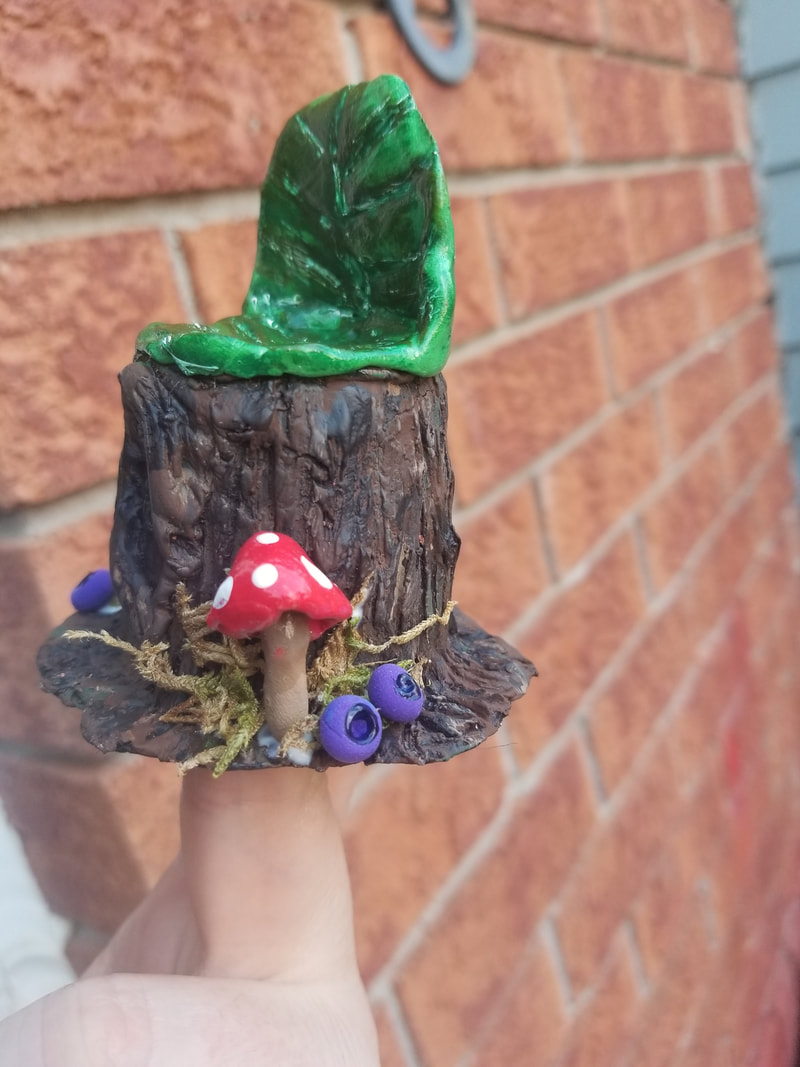
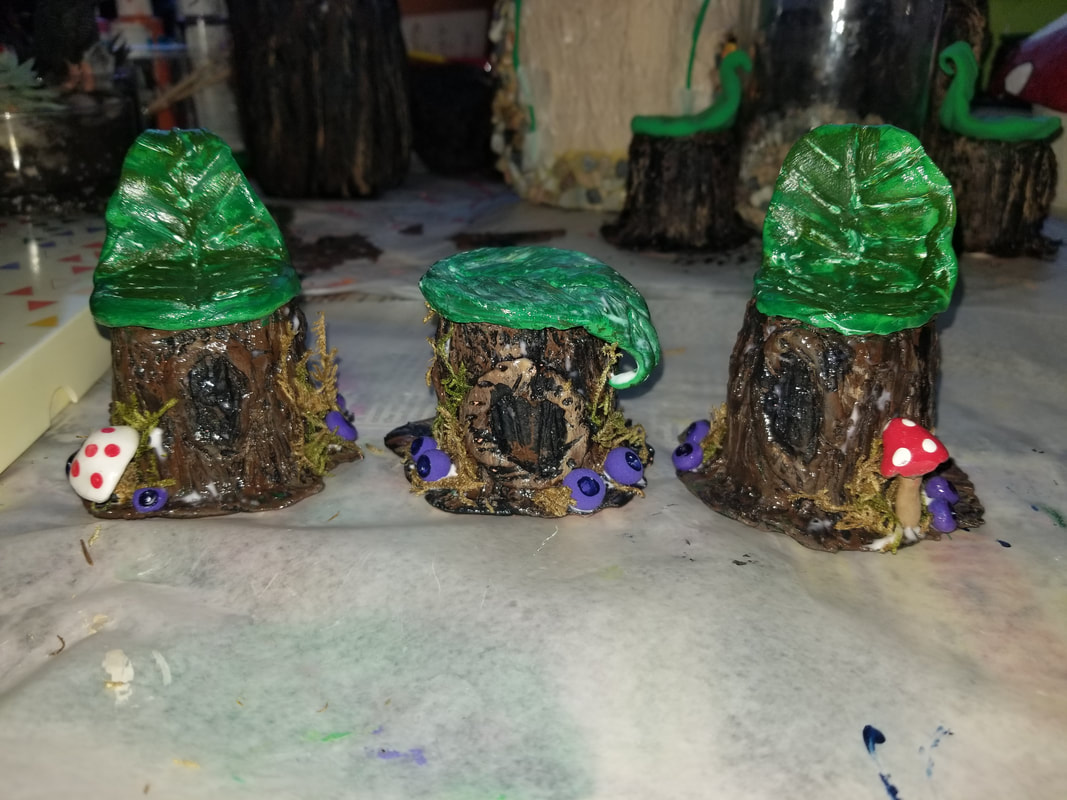
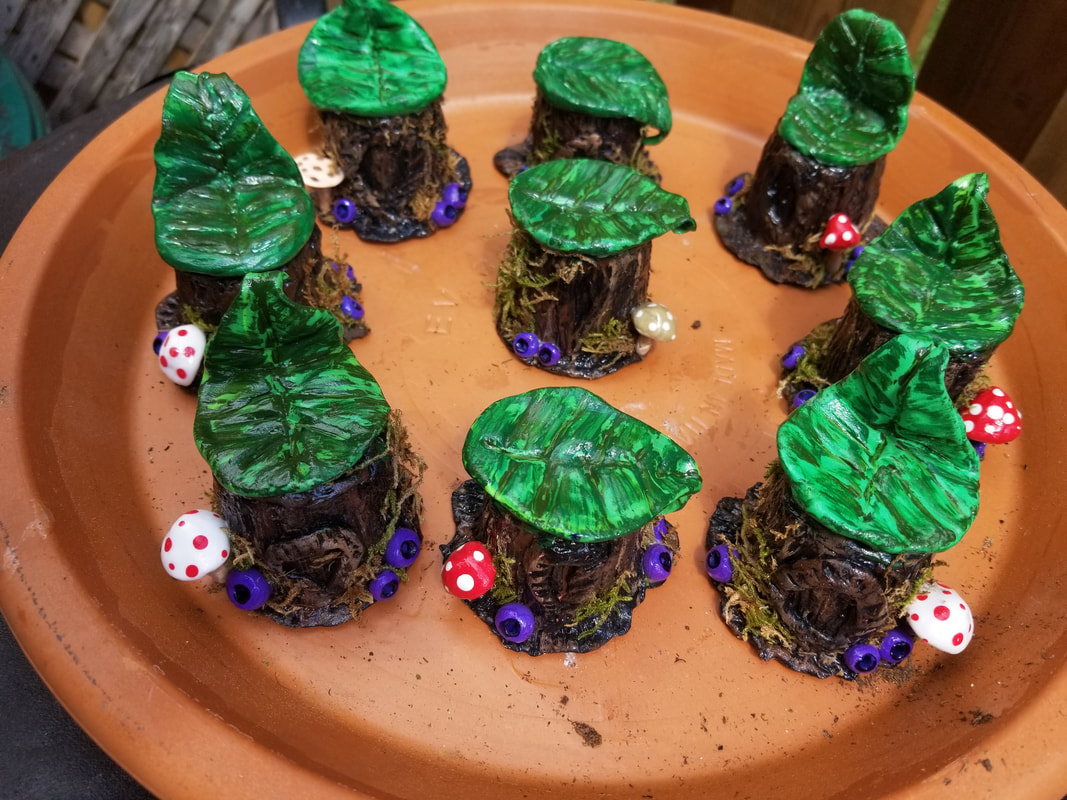
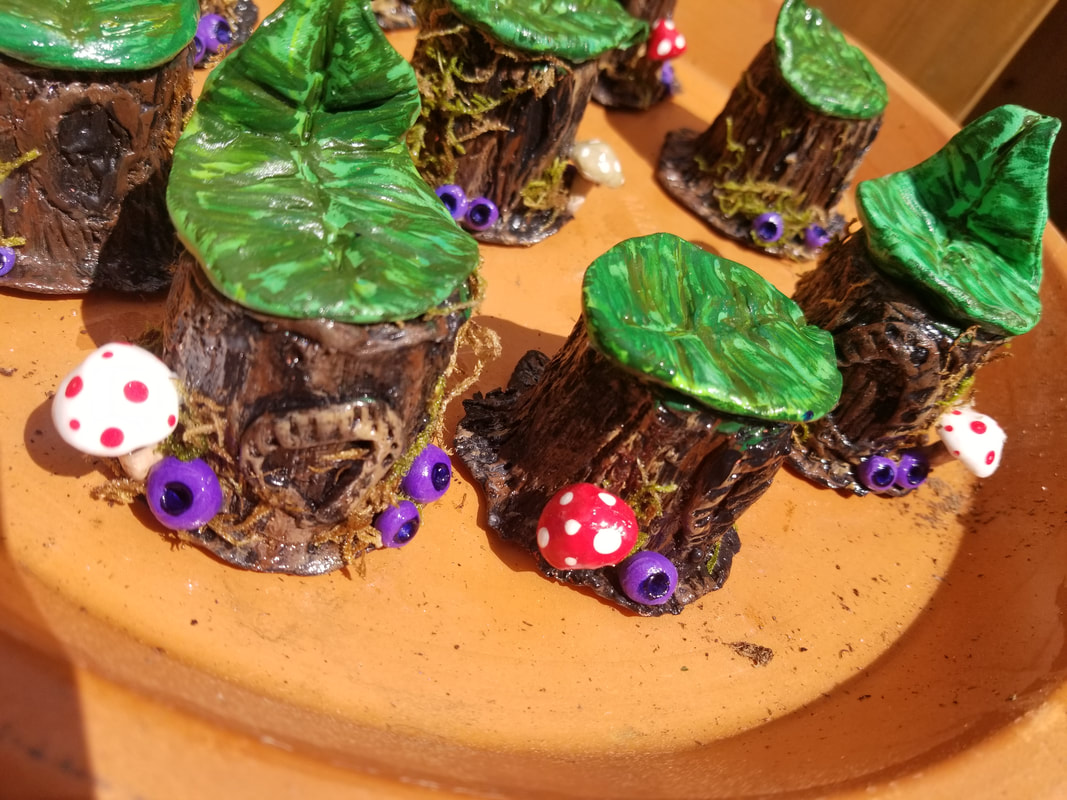
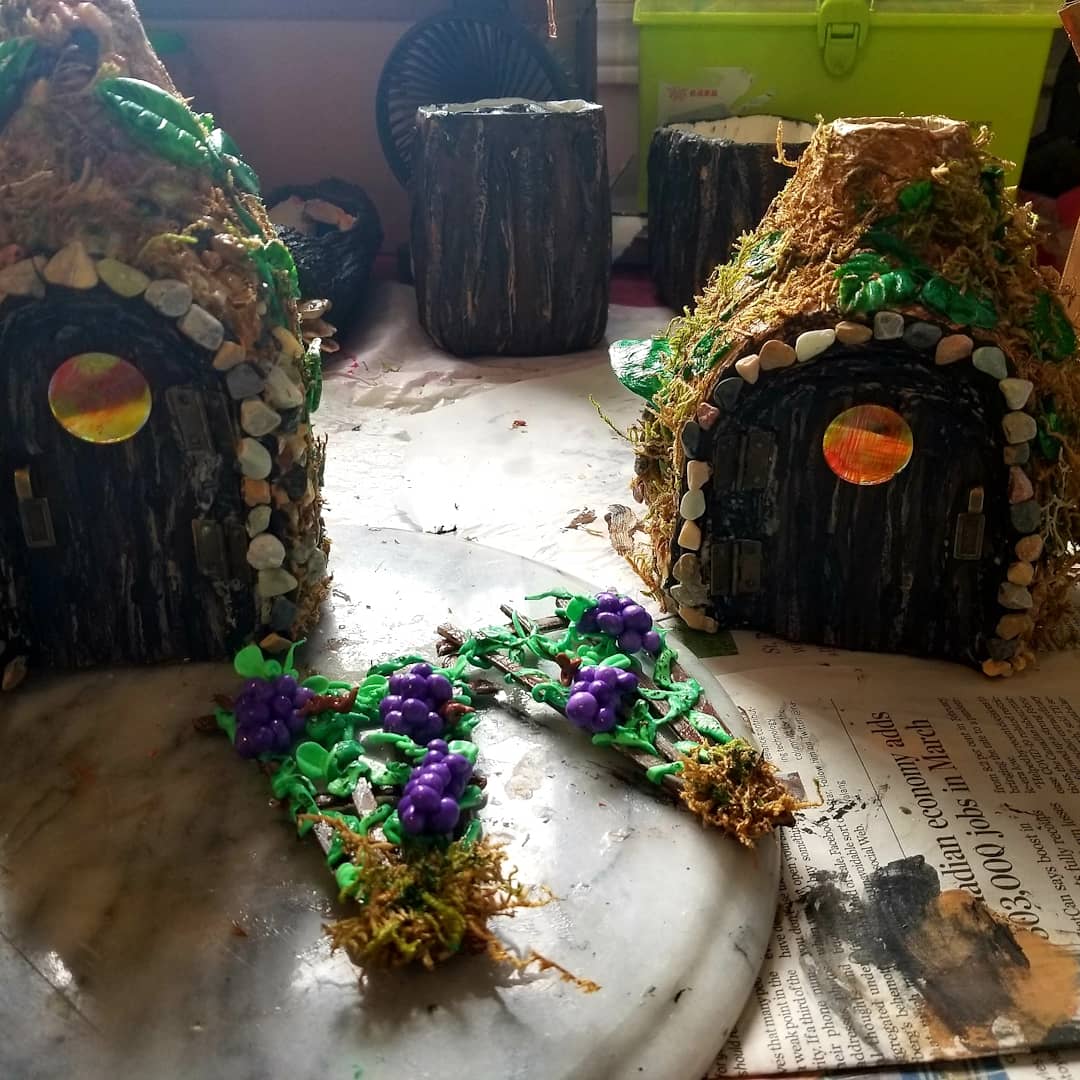
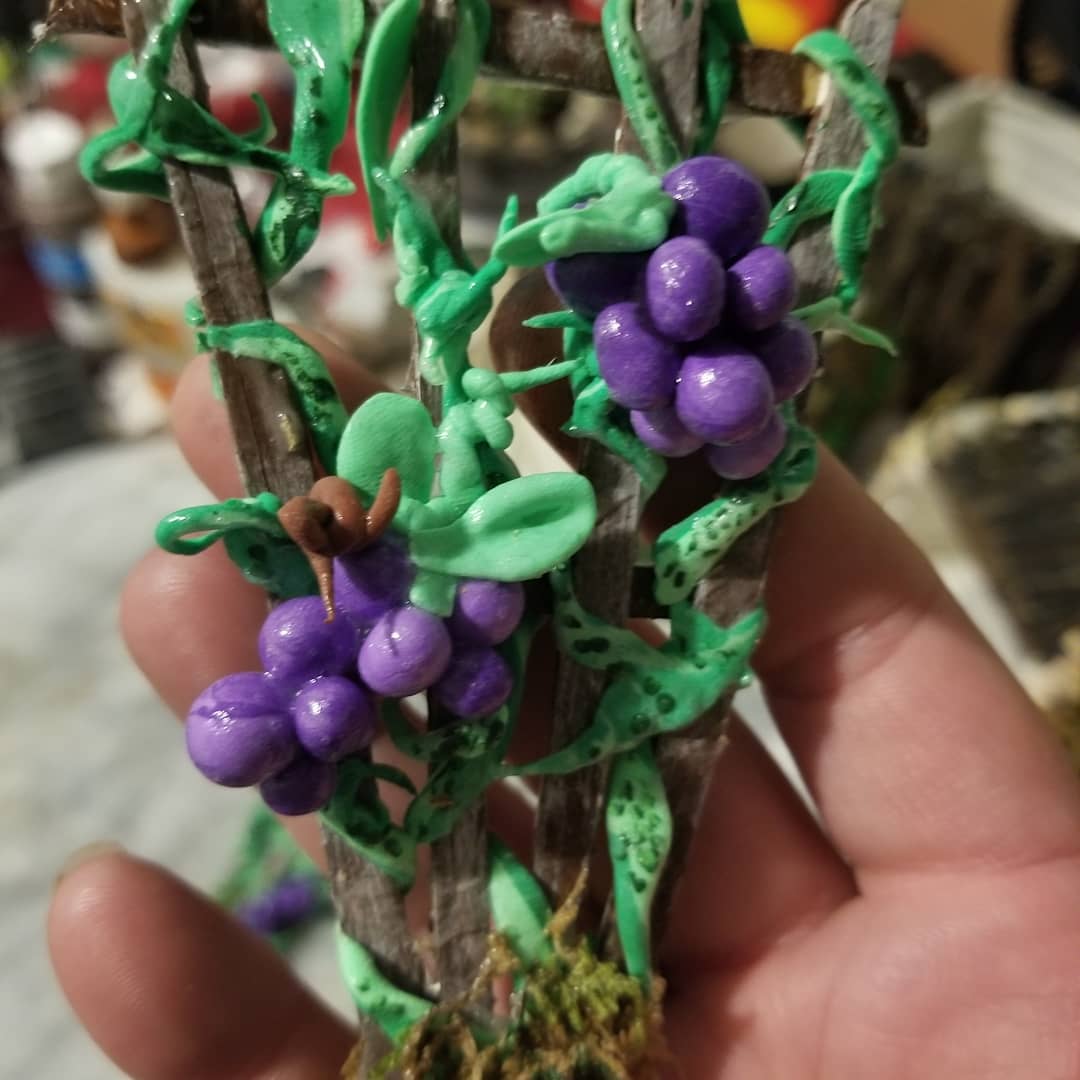
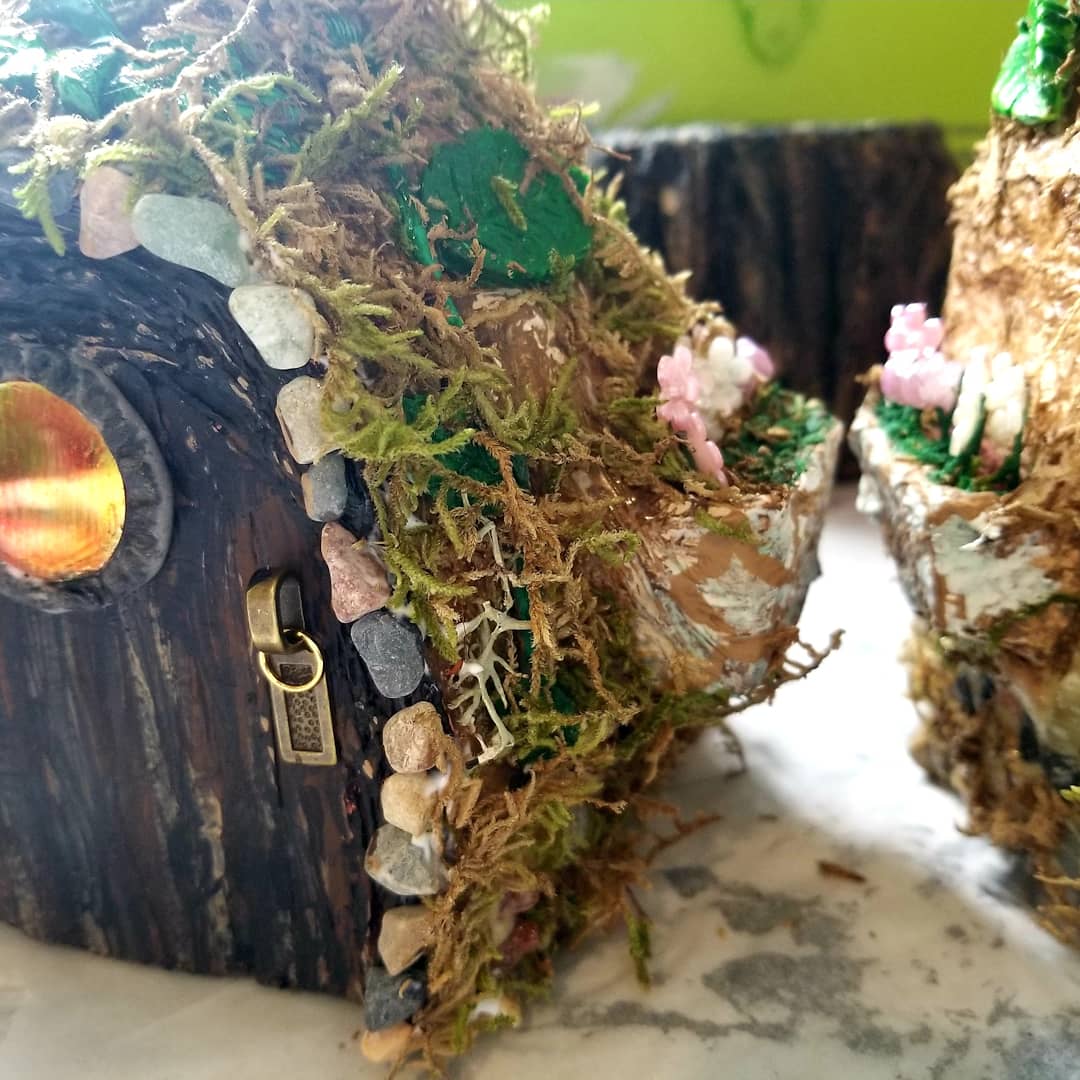
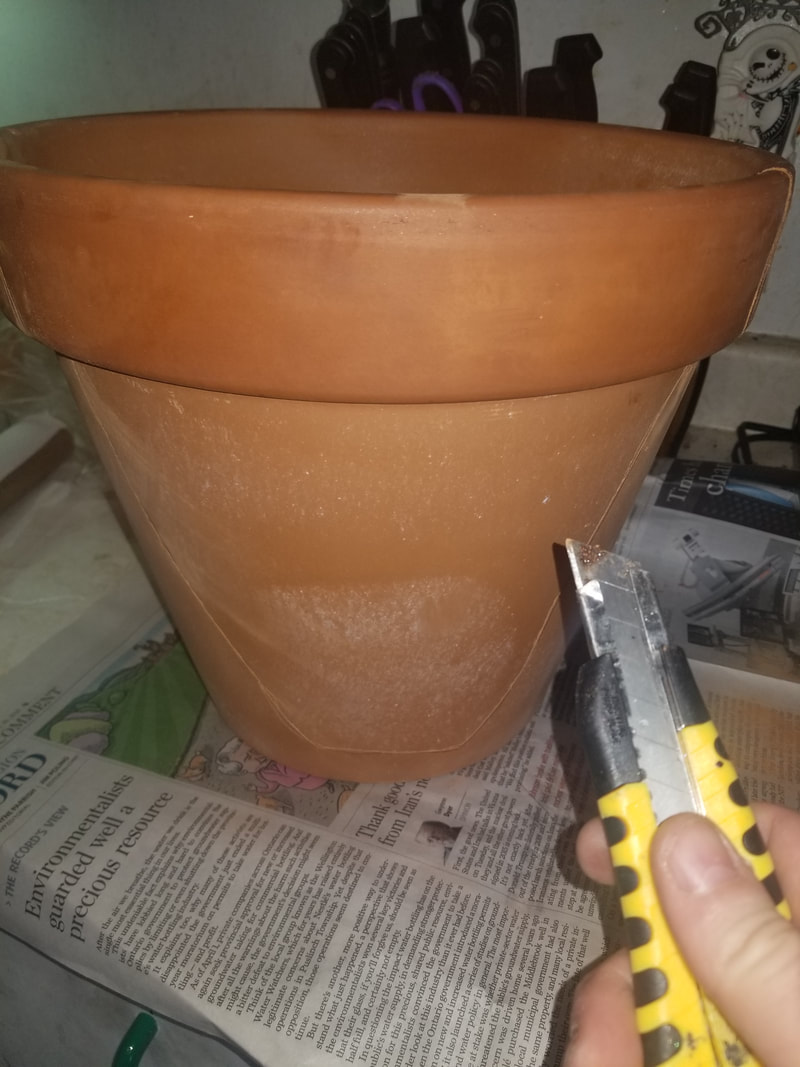
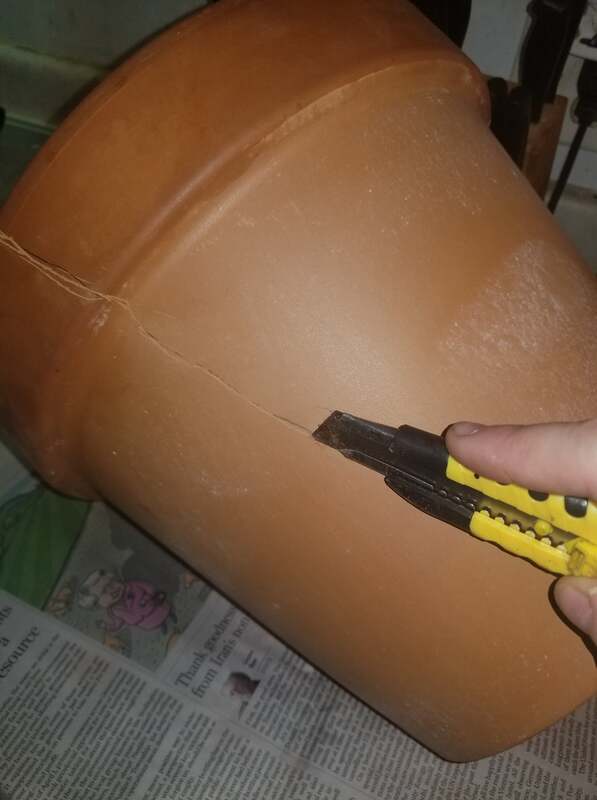
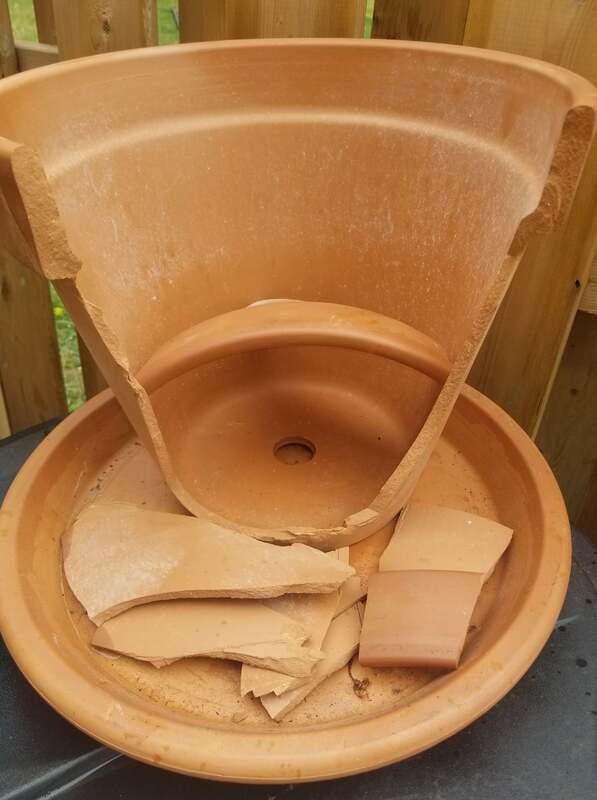
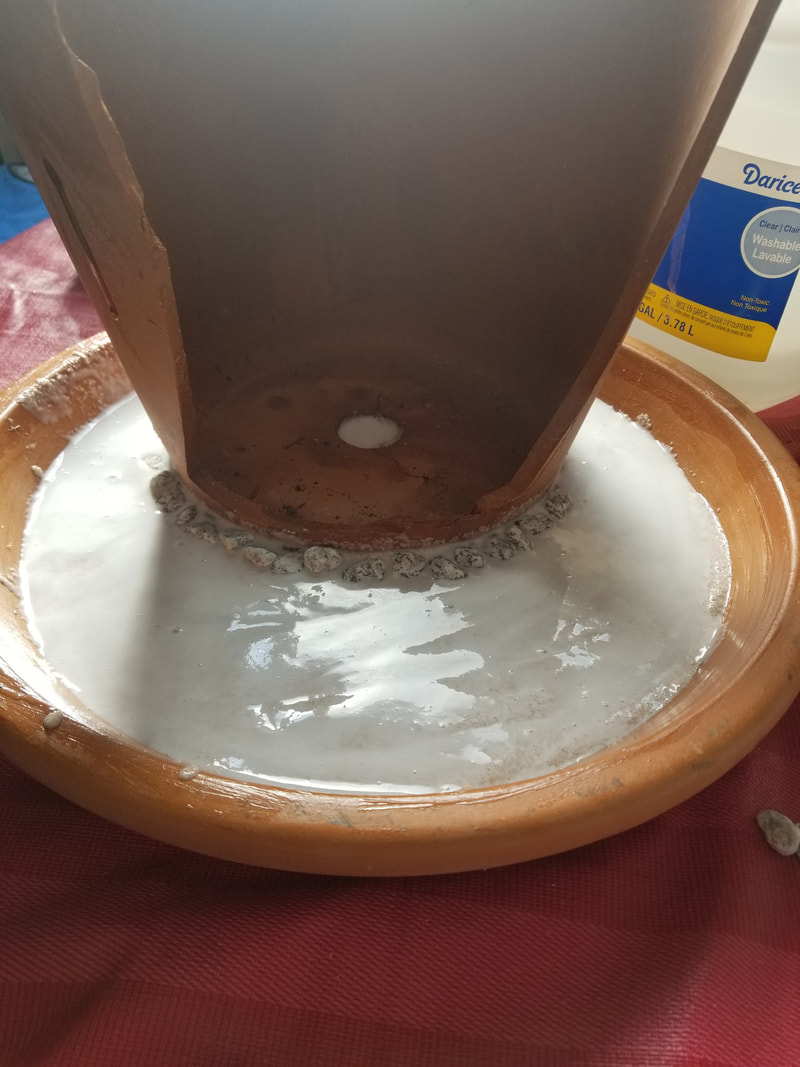
The fairy homes, log and stump chairs & tables, have been made from recycled juice containers, pop bottle and k-cup containers. Wrapped in foil, masking tape and then air dry clay. The air dry log and stumps were sealed with a black acrylic paint wash, then sponged browns, creams and dark green acrylic paints to give it a wood like colour. The seats and table top leaves are air dry clay, painted and glazed. Embellished with clay mushrooms, real moss and clay blueberries. Back to the fairy homes. The homes were embellished with real stones, moss, some resin created leaves. The "doors" were made with craft sticks, glass mirror and jewelry findings for an added touch. Grapes are clay, tussles are craft sticks. Vines are clay. We have now scored the terra cotta planter pot and using a screwdriver and hammer, we tapped to break the pot. The pieces can easily be broken just by tapping with the hammer. To prep the base for the resin river bed, I first applied a couple coats of Mod Podge (for outdoor brand) along the bottom of the terra cotta tray. I also sprayed with a plastic dip spray to coat it really well. I did not want the resin to soak into the porous terra cotta, resulting in waste of expensive resin.
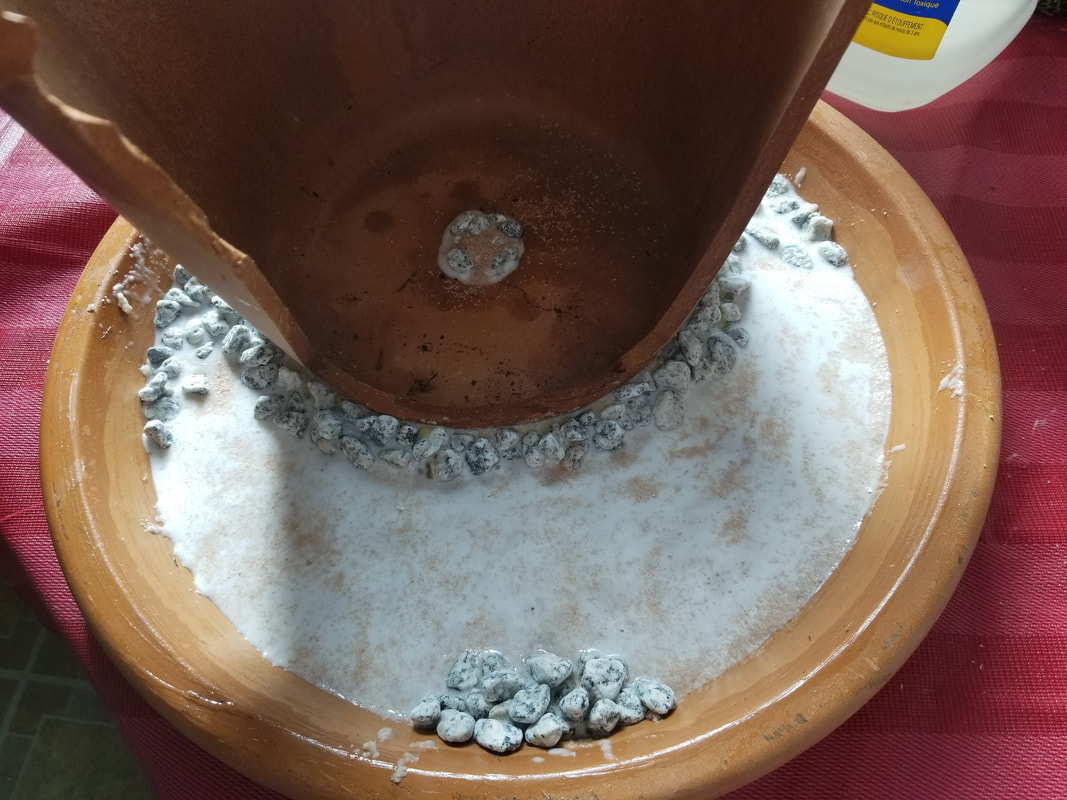
After 2 weeks of being outdoors, in both high sun and rain, the base sealed well. Firstly, glue down your broken pot to the base. I used a multi-purpose Gorilla glue to do this. As it dries, it expands to a hard foam like texture. Perfect for sealing all around the pot & Base. You don't need to wait until the glue is completely dry, as the sand is mixed with glue and will dry as well. To do this, I mixed some real sand with a 1:1 mix of normal mod podge and clear school glue. (You can use white all purpose glue, but I had a gallon of clear so used that.) I mixed well and poured it to cover the base. I made up the mixture twice, equally one full plastic cup to cover all the bottom. I made sure to scoop it all around the pot and along the back too, even though you won't really be able to see it. I sprinkled some of the sand over the top of the mixture, just to add a bit of texture and colour that will show through the resin a bit. I used real river bed rocks to outline the base of the pot. Depending on what sort of design you want to make, place the rocks to suit your own design. I will be installing a bridge from the edge of the tray to the opening of the pot, hence why I have a tiny pile of rocks opposite of the pot opening on the edge. Allow to dry thoroughly before proceeding with the resin step. For the cave wall, I wanted something that would give the impression of rocks, but without using real stones, due to the weight factor. Using foil, I shaped tiny rock like pieces, and then wrapped in masking tape. I applied 2 thin layers of napkins dipped in clear school glue. Once dry, I painted the one side solid black. Once dried, using a sponge, I applied grey, white, brown and a tiny bit of green. I touched up with black and white to give it a more stone feel. Once the paint was dried, I applied a coat of Mod Podge for outdoors. I prefer this option, as it gives it a leathery texture feel once dried, and protects it from the outdoors. You can use the original Mod Podge, however, it will have more of a gloss finish, which is not what I wanted for this use.
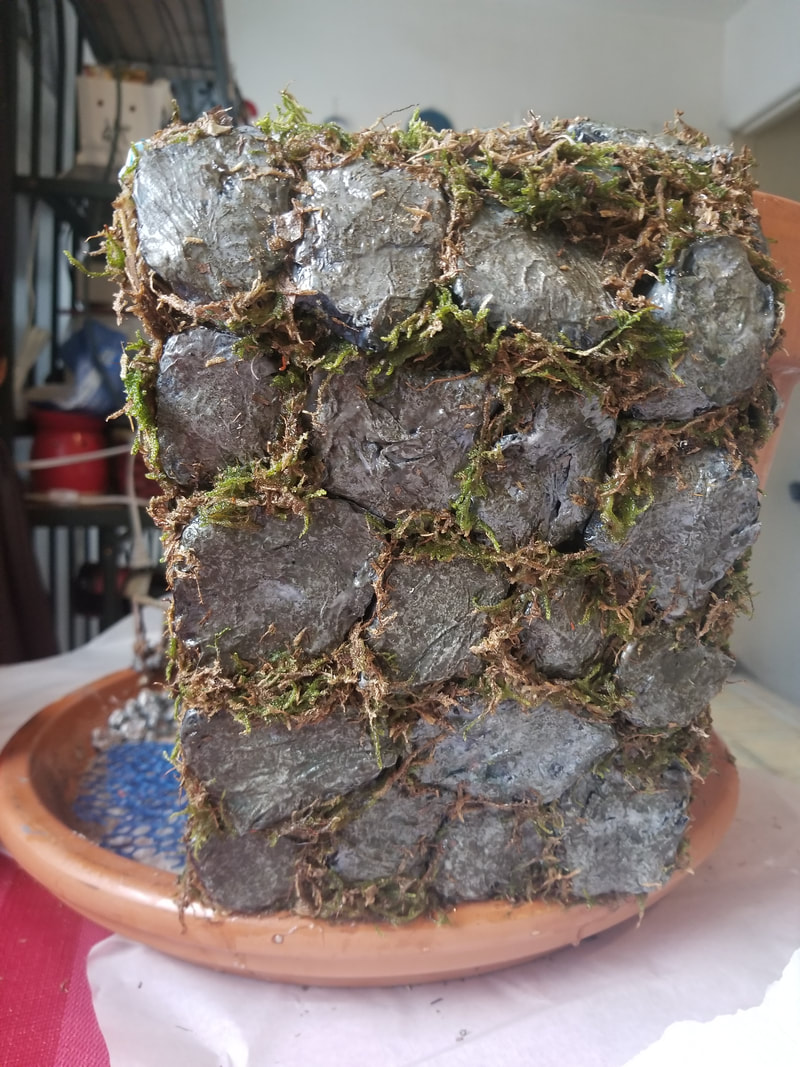
Gluing the stones was done in stages for a couple reasons. I didn't want to use hot glue, as sometimes it doesn't last long with painted surface or the mod podge sealed surface. So I've found Tacky Glue works best. Plus I knew I was going to be using a moss-glue mixture to fill in between the stones to age the wall.
I started at the bottom of the wall, closest to edge of the base. I glues the first layer, mixing the direction of stones and then having to use bottles to support it, to hold them in place until the glue started to dry. I continued this process all the way up to the top of the wall. Once they were all done, I let dry completely for a couple hours. |
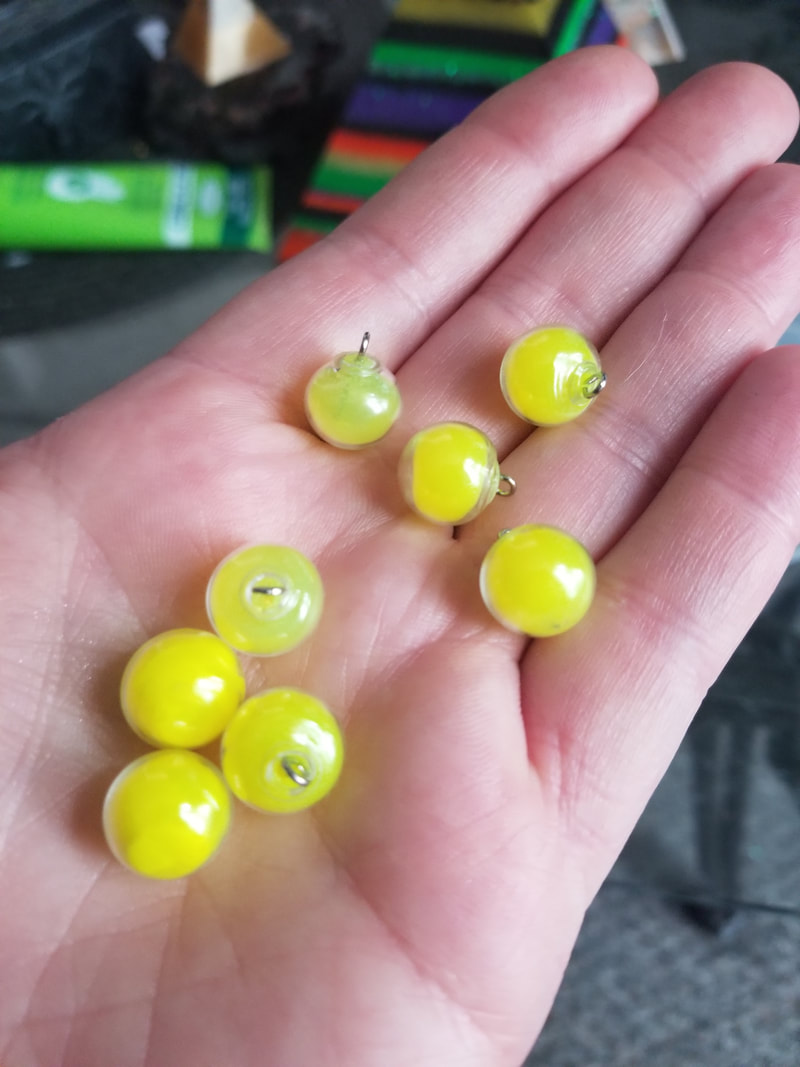
I made glow in the dark globes to be little hanging fairy lights. The globes were purchased on Amazon. Using UV resin and glow in the dark pigment and powders, I filled each globe, and cured with UV lamp. I inserted tiny eyehook pins in the top while curing, in order to have them hanging from string to become fairy lights, which will be used along the pot in specific areas.
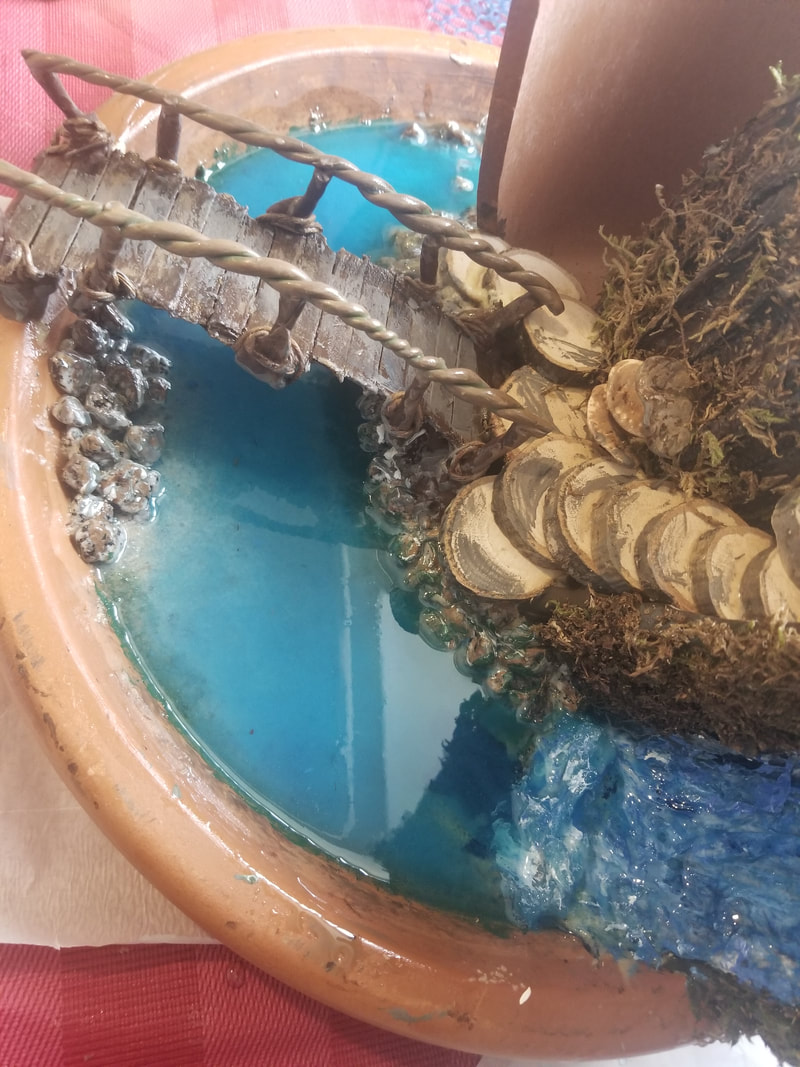
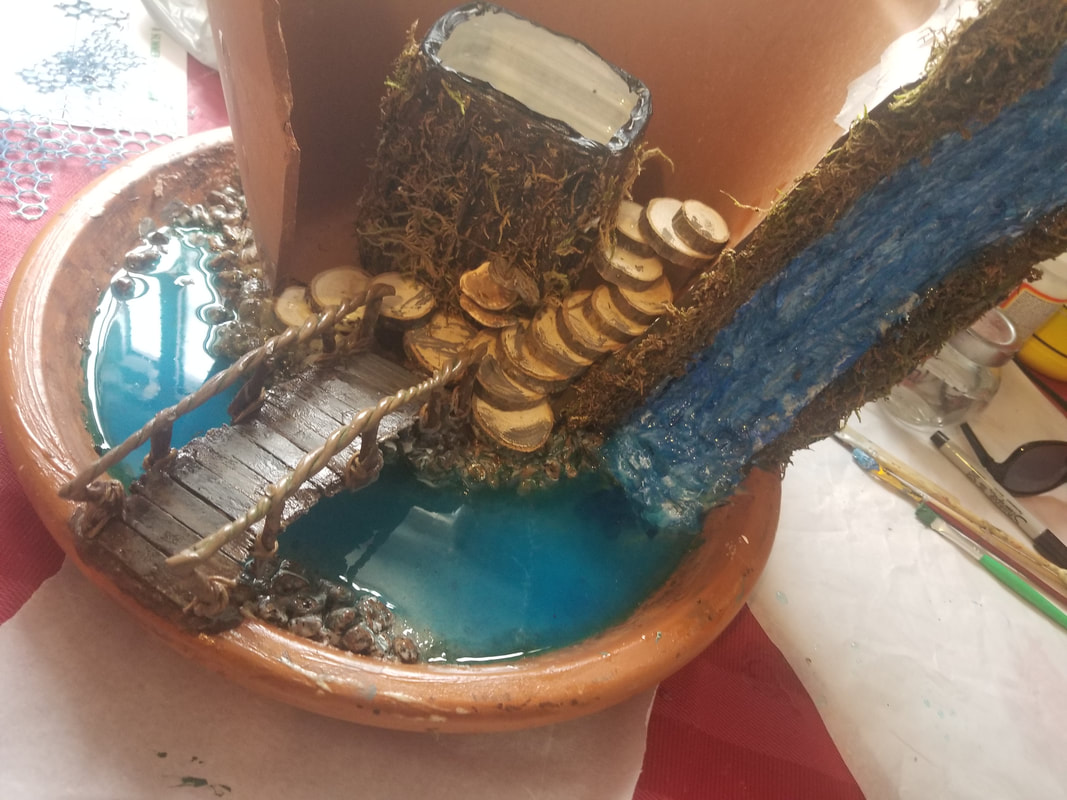
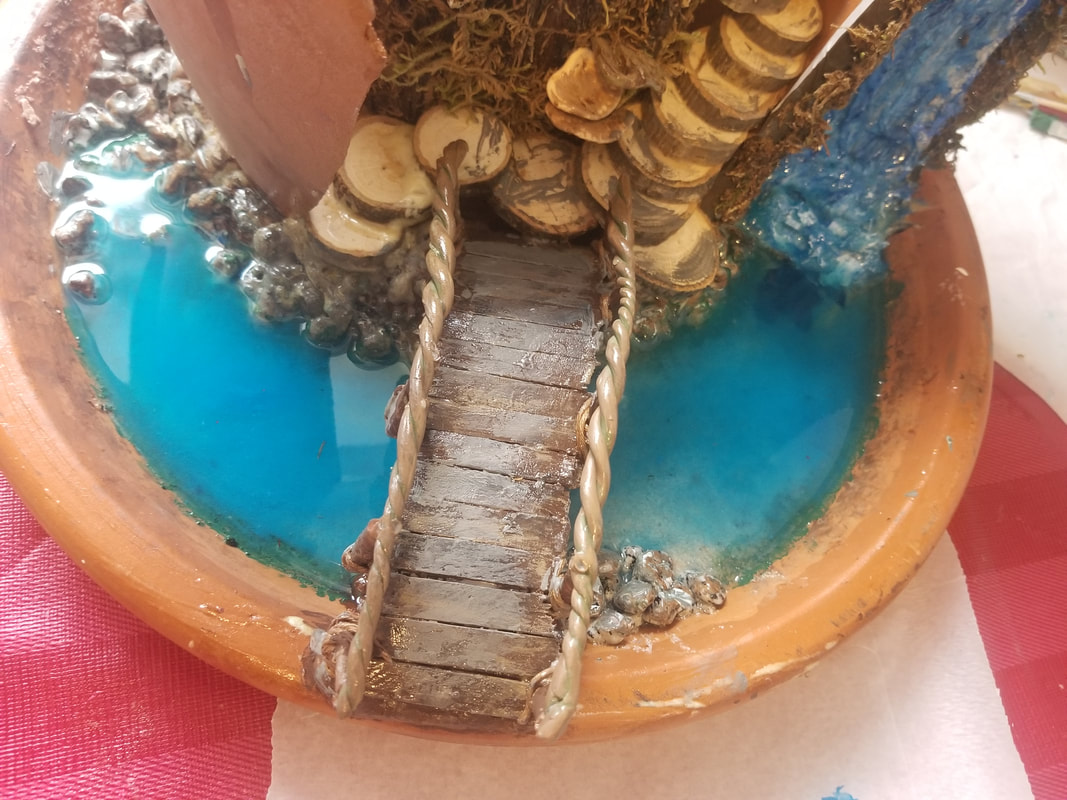
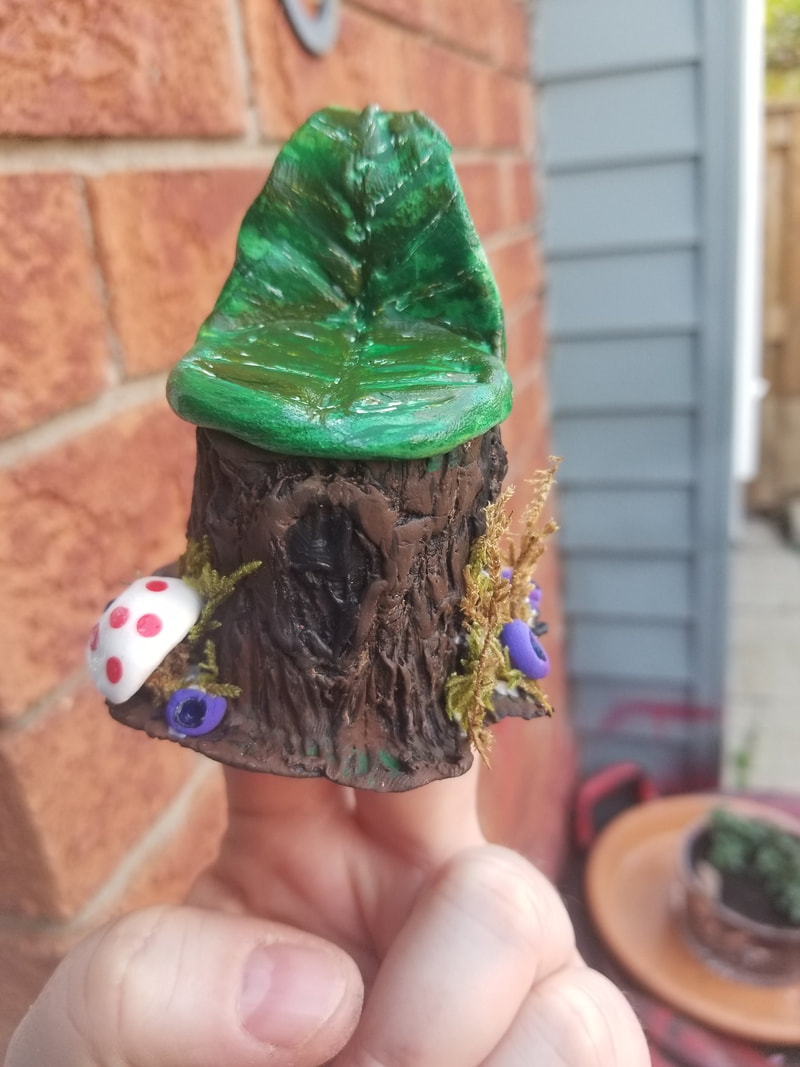
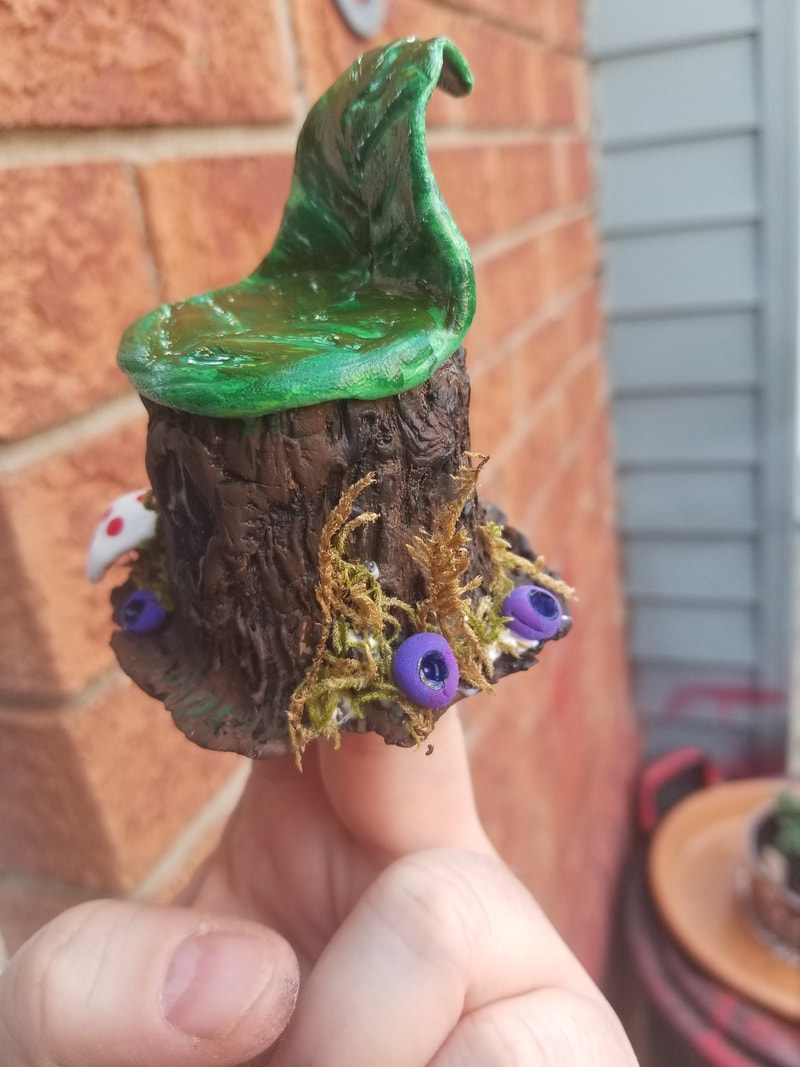
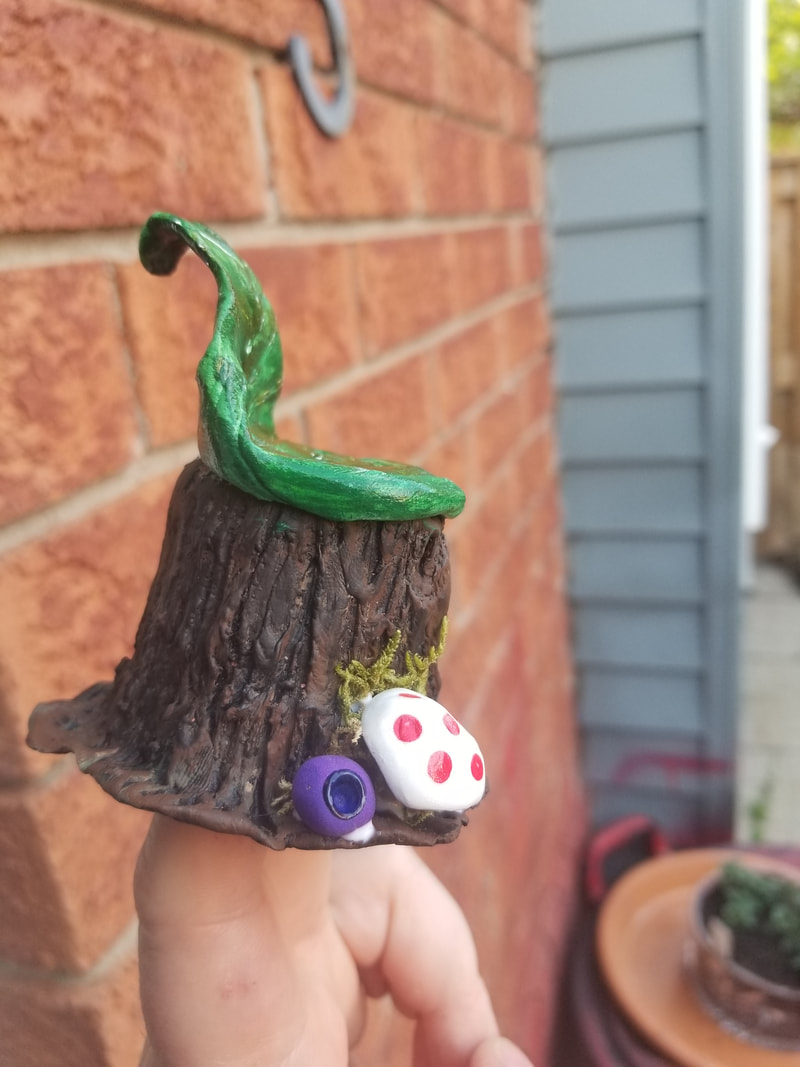
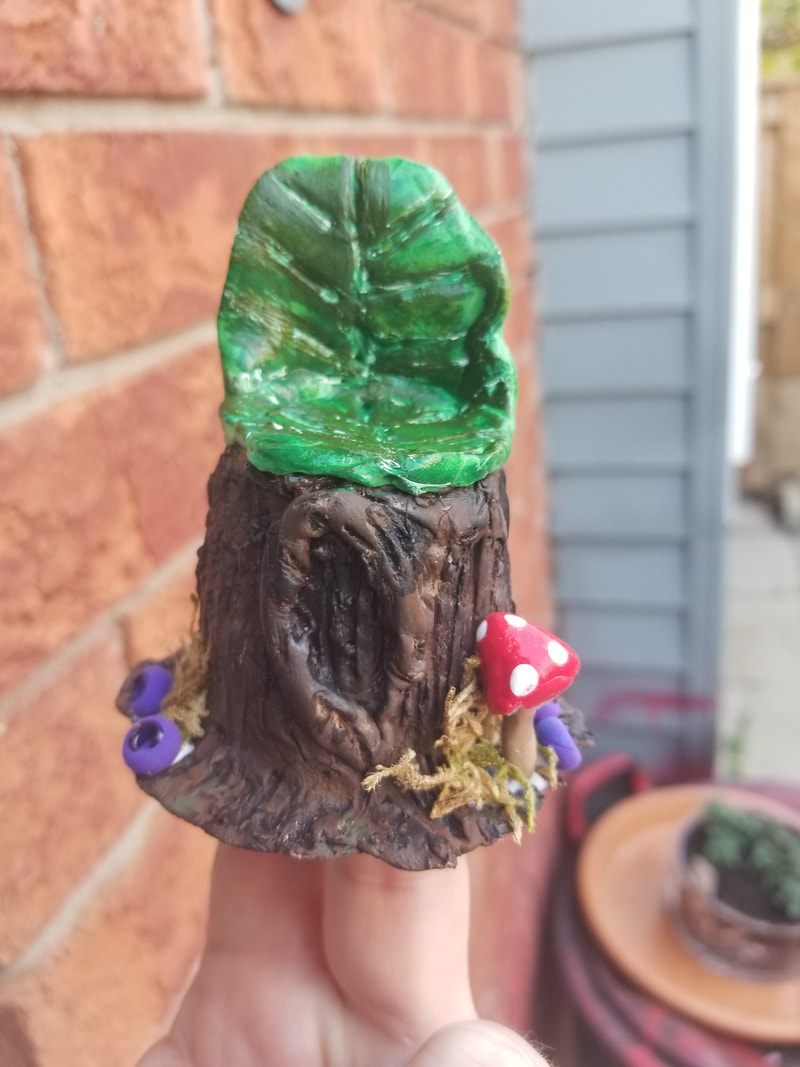
The bridge is made from craft sticks, polymer clay, twine and string. The posts and railing are made with polymer clay. Shaped and then baked. Painted with a mix of paints (brown, black, gray, white, green). I used sliced wood pieces to make little stairs from the bridge up the side of the pot. Since this will be a multi level "house", the stump part is glued in place with the wood slices glued to it as well for support. The stump was made with an empty juice container, wrapped in foil, taped and then air dry clay applied. Details were added with clay tools and once dry, painted with multiple shades of brown, black and grey. Real dried moss was glued to it, as well as a couple polymer clay mushrooms on the side.
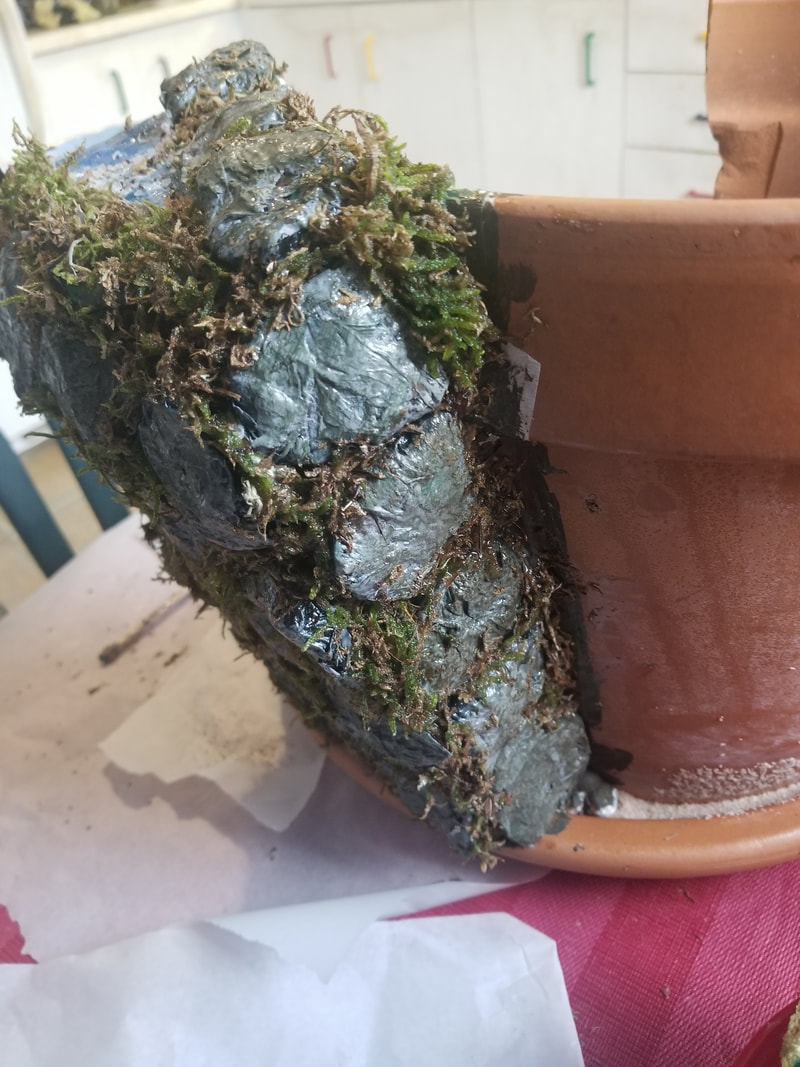
To make the cave wall and waterfall section, I used foil and an empty cracker box to form the shape I wanted. Once I had it shaped, I layered the box with masking tape and painted black. I didn't feel I had to apply napkins and glue, since the rocks would be covering the box. Once it was attached and sealed, I let it to dry. To fill in any gaps between the box and pot, due to the rounded edge of the pot, I used air dry clay to seal all the edges. I then applied a layer of Tacky Glue, and a piece of masking tape. It formed a tight seal and secure once dried. Then it was time to glue the stones on.
Once all the stones were installed and dried, I used a mixture of clear school glue (you can use white glue, but I had this on hand) and real dried moss. I mixed it up and with the end of a paint brush, I pushed it in between the stones. This helped secure the stones as well, since they were not all flat, so the mixture helped fill in gaps and the added glue would secure them even more.
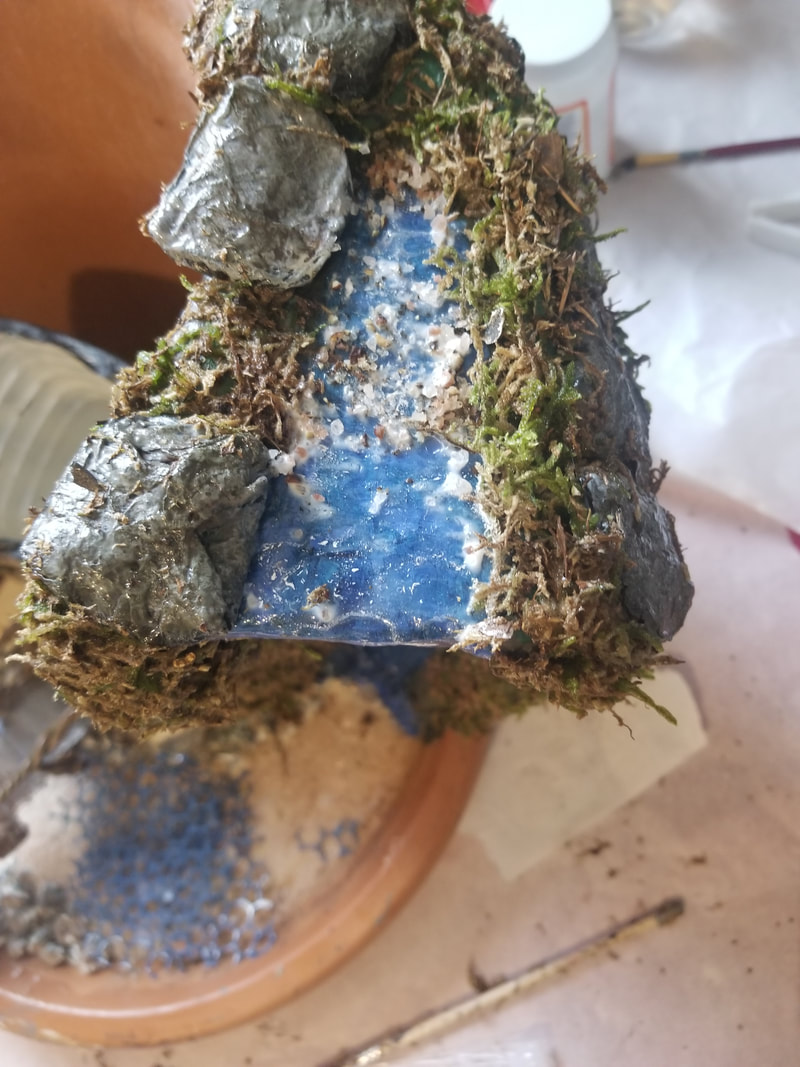
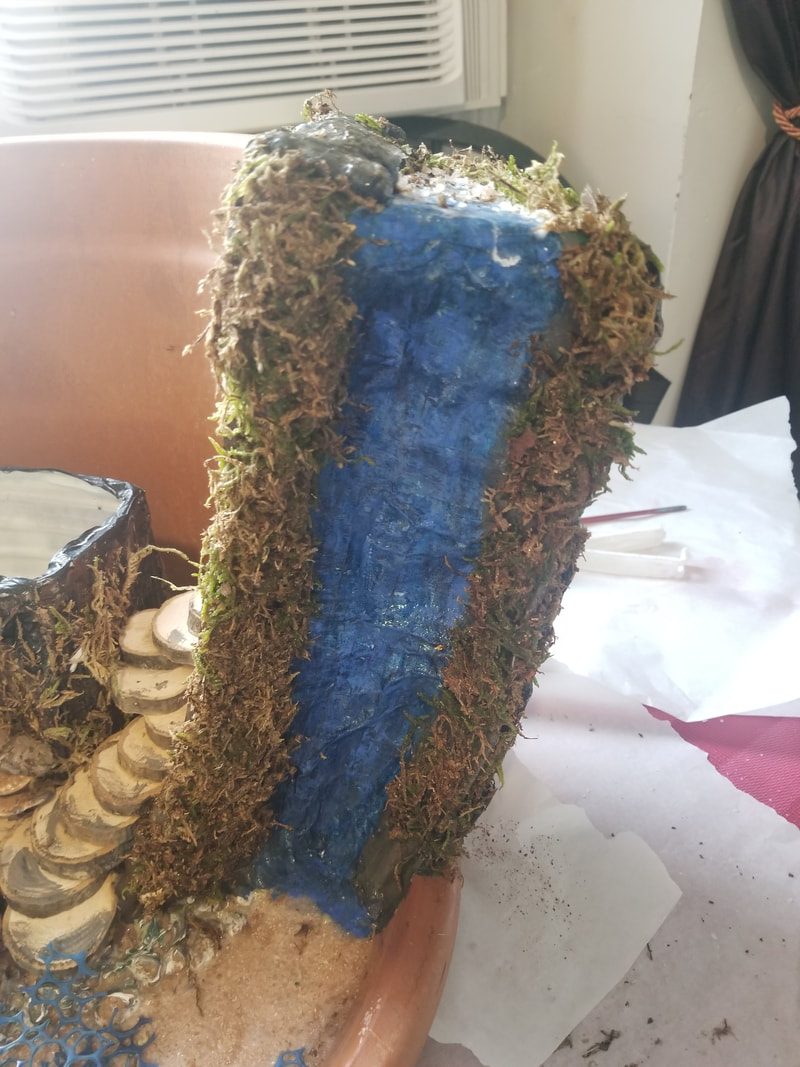
I made sure to do all down the front of the section that would be the waterfall. Speaking of, I painted the waterfall section two shades of blue so I knew how much area I had to cover with the moss mixture. The clear glue takes longer to dry, so once the moss was all added, I left the whole piece to dry for an evening. While more "stones" were drying, I poured the first layer of the resin river. Using a deep pour 2:1 epoxy resin, I added a few drops of sapphire blue alcohol ink 160ml of resin. I didn't prep the base, as it was already sand mixed with modpodge to seal the bottom. After pouring the resin, I used a bbq lighter to pop any bubles, although that won't be necessary since we will be topping it with some ripples and waves with gel medium. I then used a light blue acrylic paint and swirled it in the resin, just to add some more blue tone. Since it is a deep pour resin, the next day it was still tacky. I also applied a bit of the resin to the waterfall base, and on top of the river part as well. I had previously used glue and napkin to give the waterfall and river a bit more texture. Once completely dry, I will use the gel medium to add ripples.
|